Installation & Onboarding
For [Version Data]
For V3.1
[VIDEO WALKTHROUGH - see here]
⚠️ Useful Tip
Before installing CoMapeo make sure your phone battery is charged, that you have access to an internet network for downloading CoMapeo and that your phone is virus free. Consider doing a maintenance check on your phone first - see in Setting up a Device
Installing CoMapeo
[VIDEO WALKTHROUGH - see here]
⚠️ Useful Tip
Before installing CoMapeo make sure your phone battery is charged, that you have access to an internet network for downloading CoMapeo and that your phone is virus free. Consider doing a maintenance check on your phone first - see in Setting up a Device
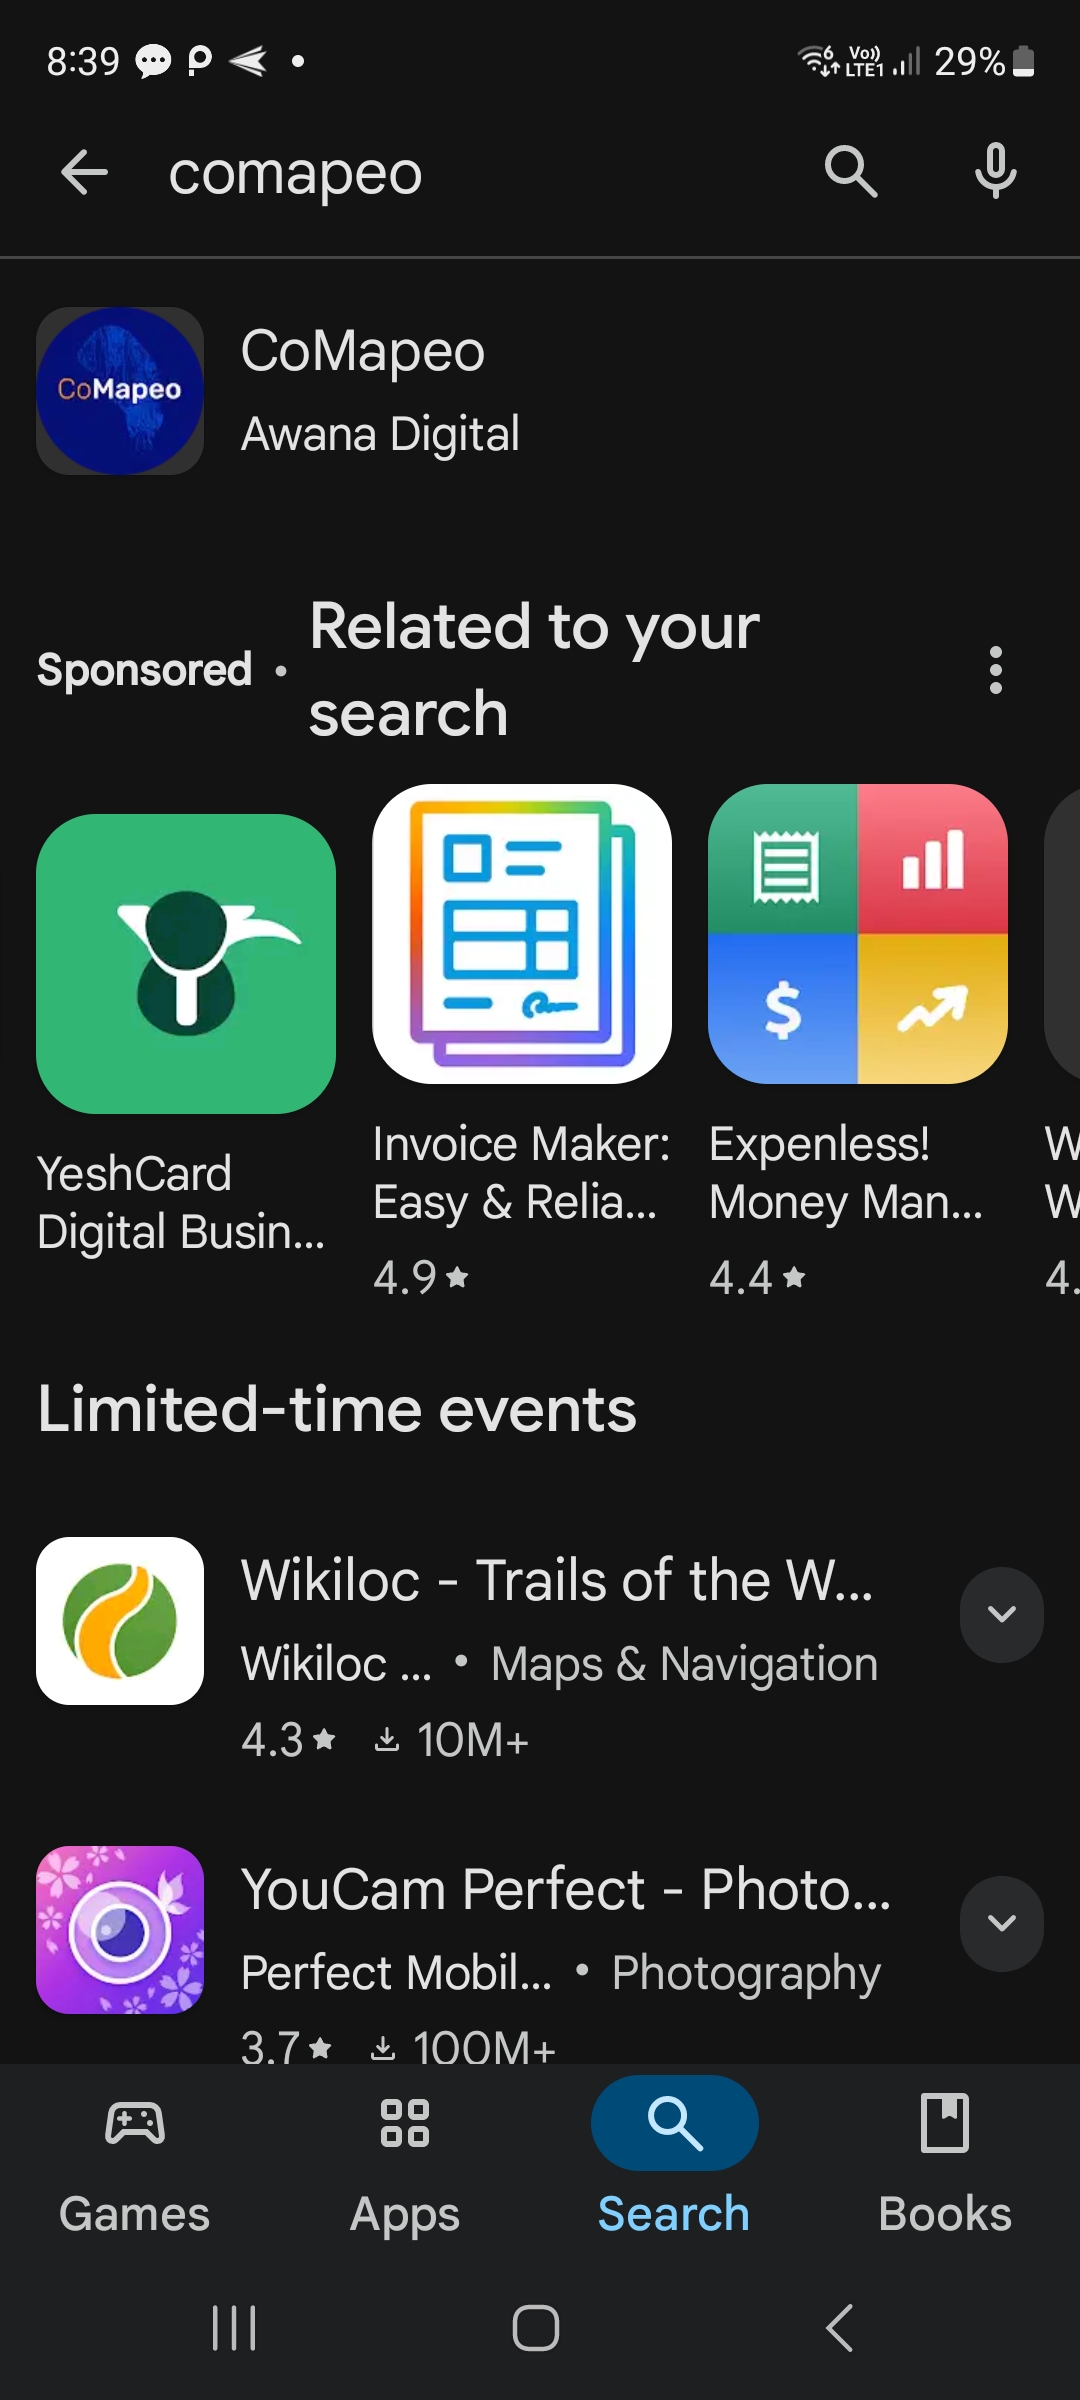
Step 1: Find CoMapeo on the Playstore
Open Google Playstore and search for CoMapeo, created by Awana Digital.
Alternative Option: You can also download the .apk for CoMapeo from our website. However if you download the .apk the app will not be automatically updated with new features and bug fixes when we make new releases. We recommend installing CoMapeo the Playstore if possible.
Step 2: Install CoMapeo
Click on the install button on the Playstore listing, this will download and install CoMapeo
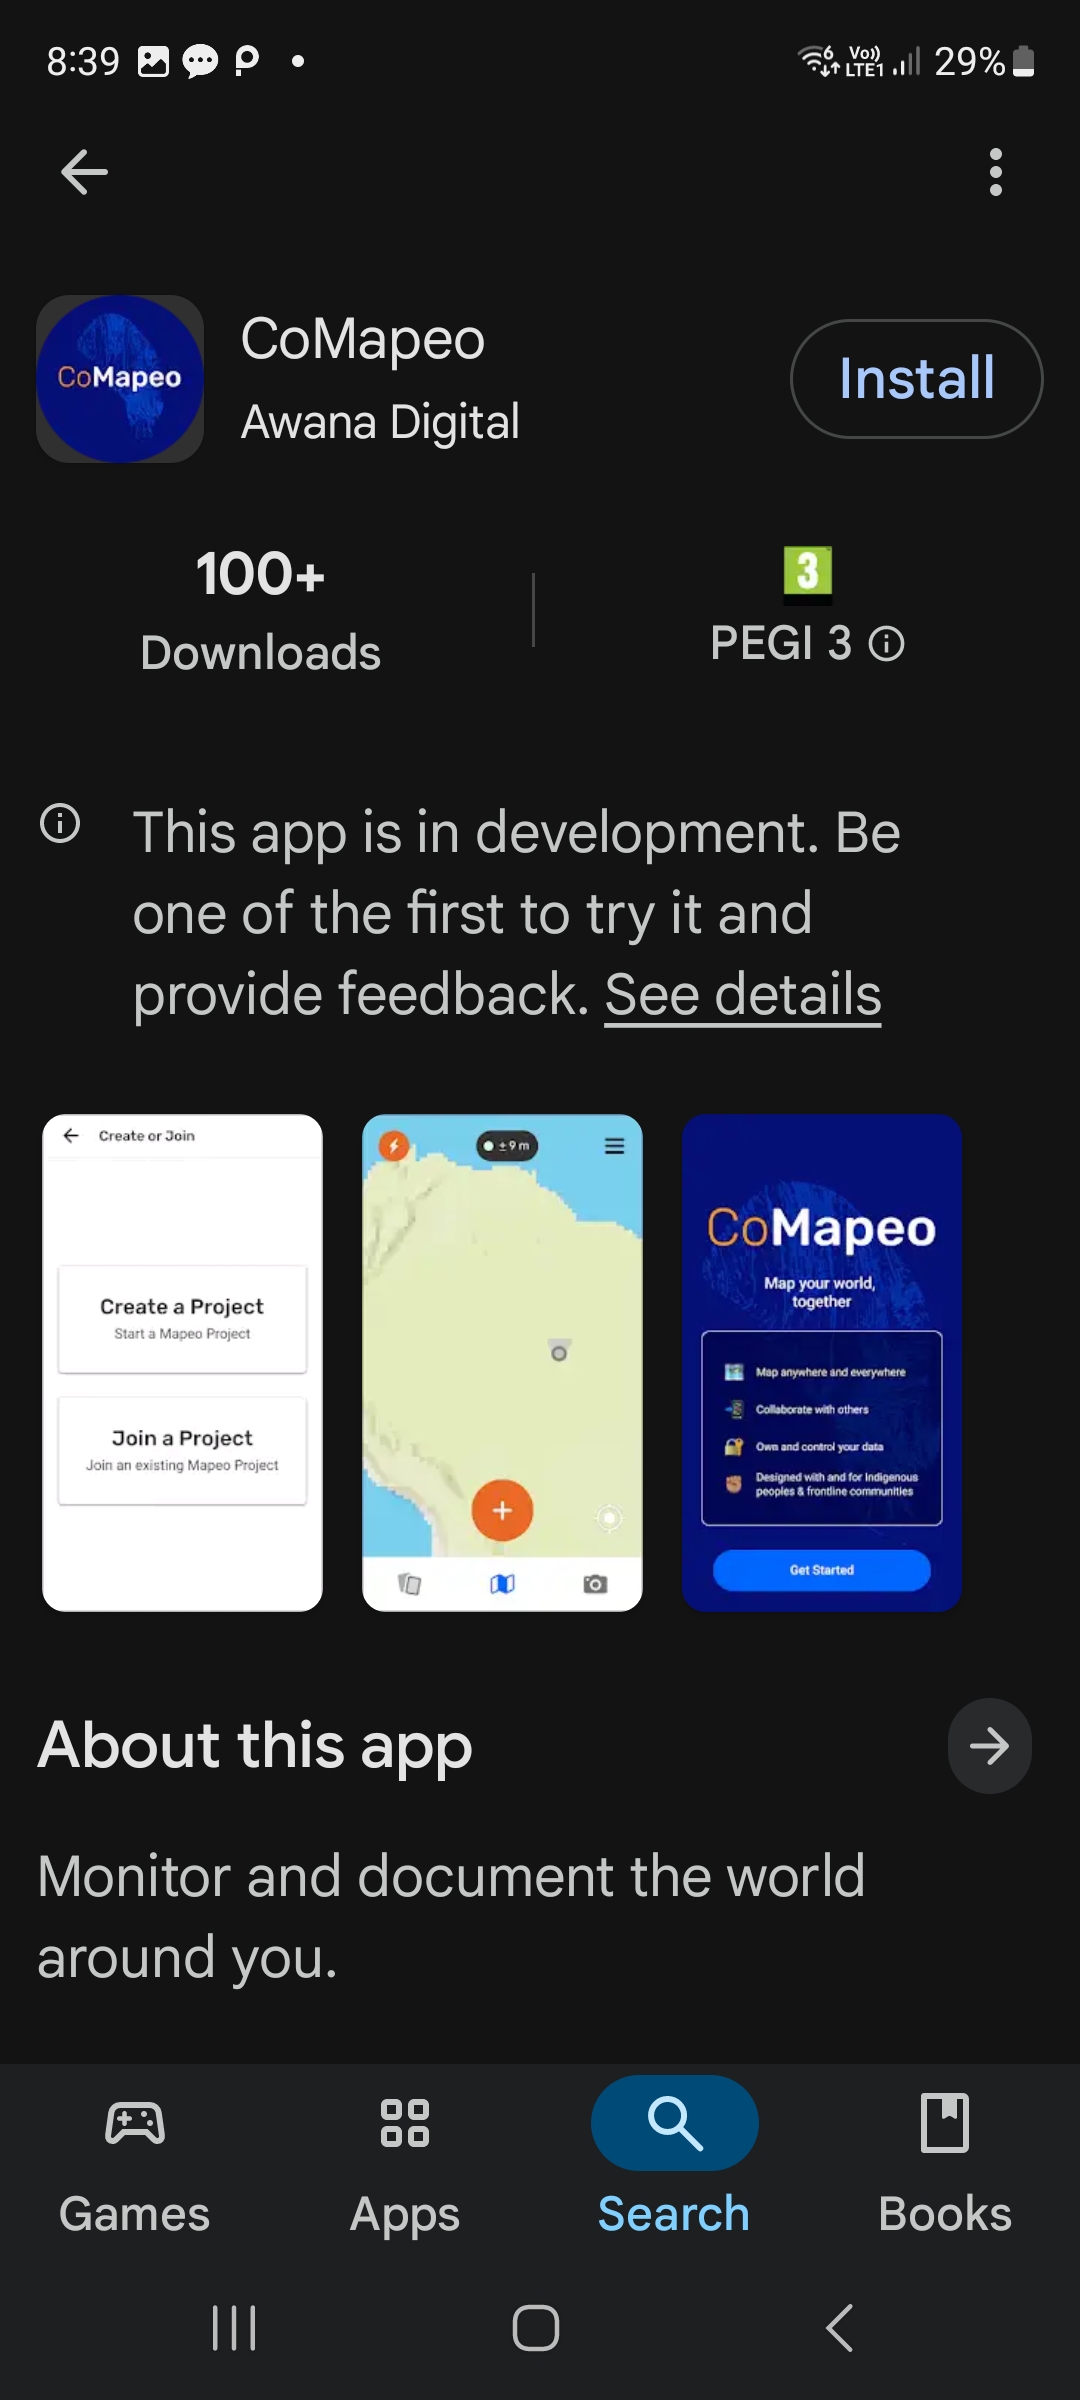
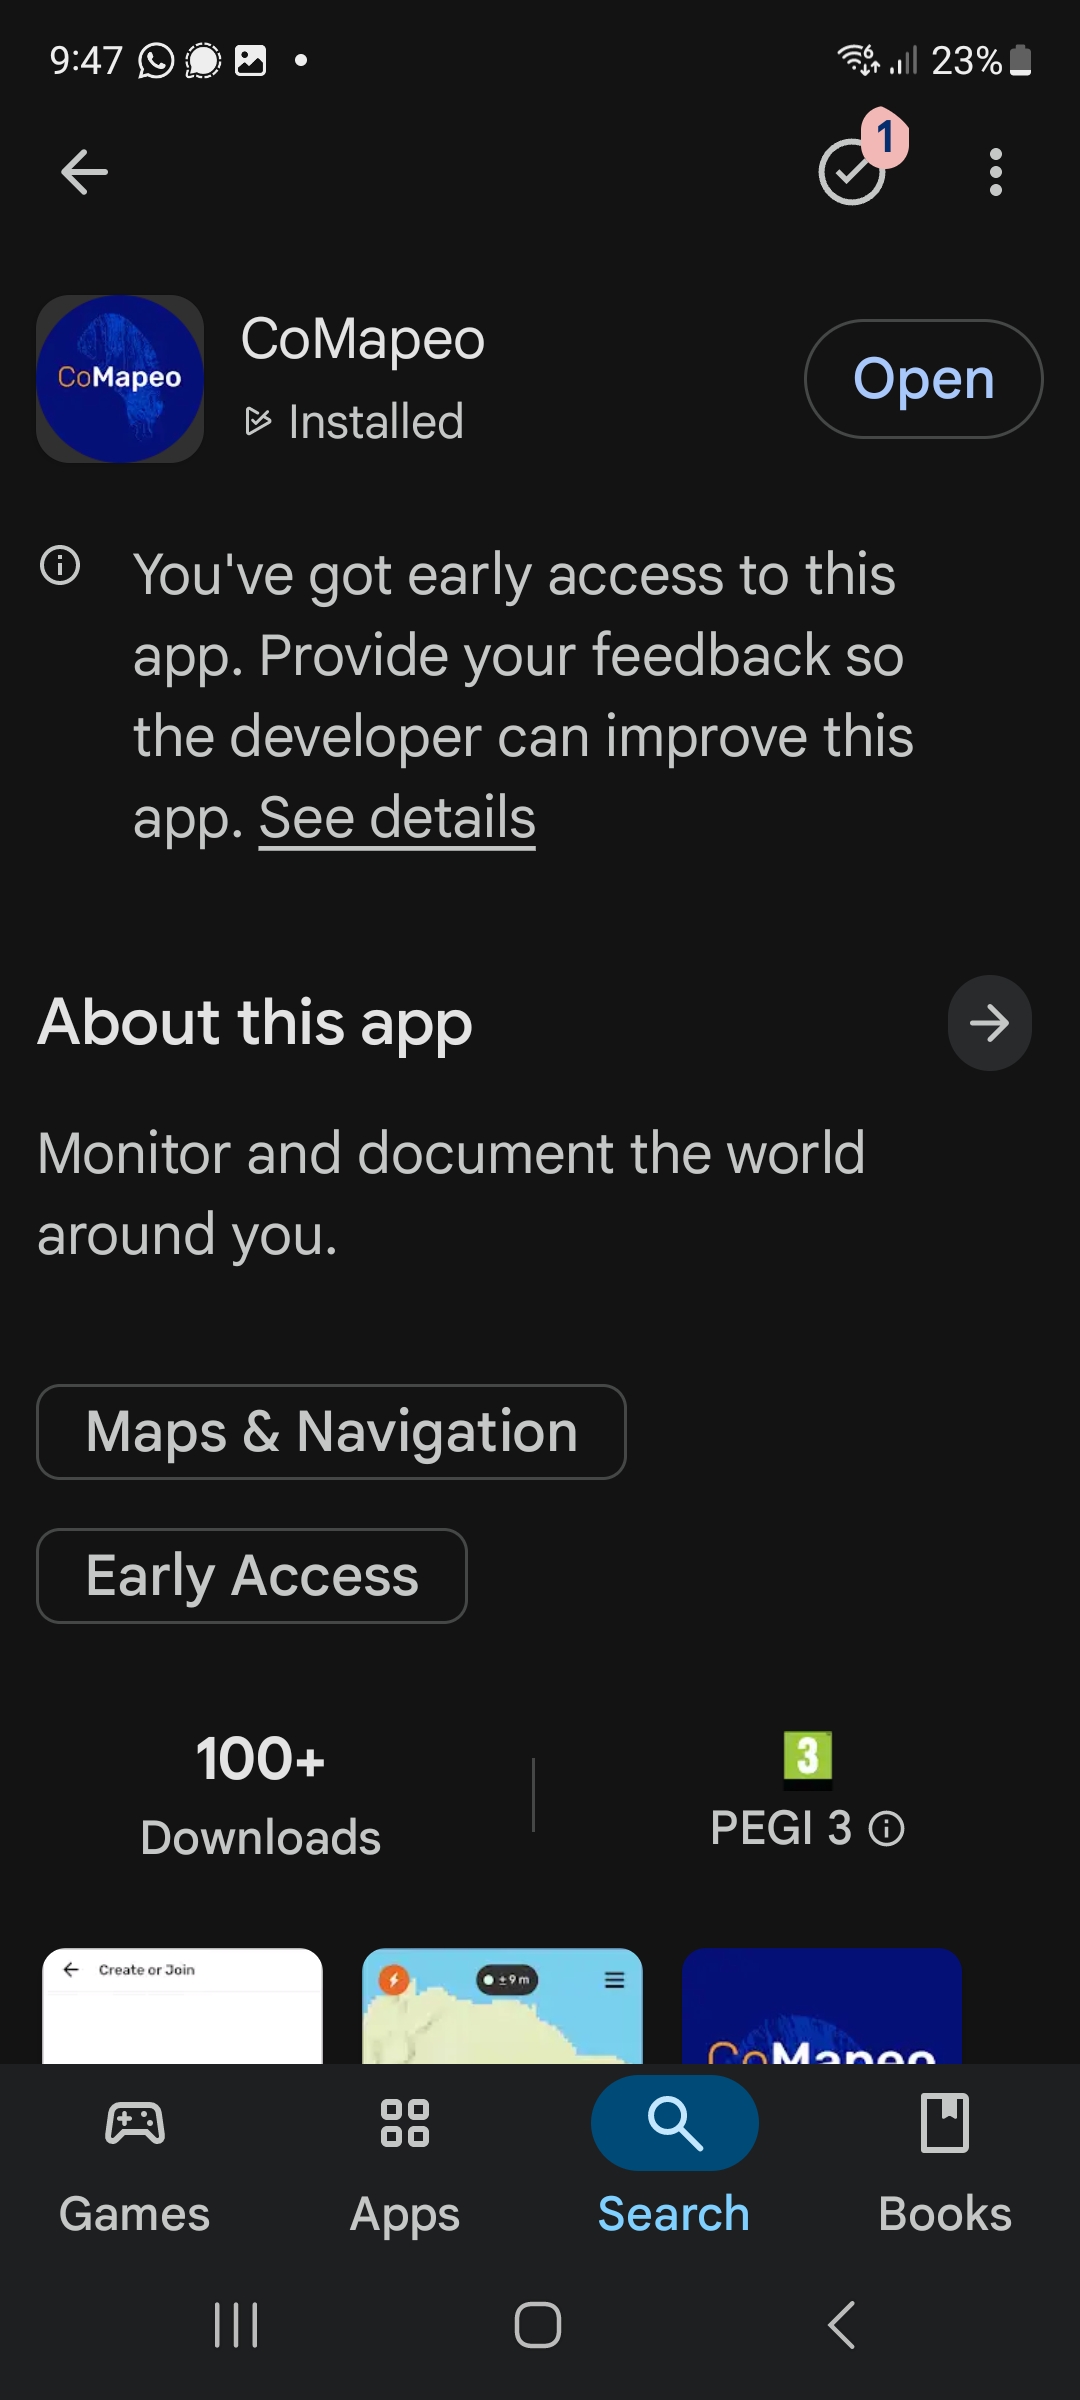
Step 3a: Open CoMapeo from Playstore
You can open CoMapeo now from within the Playstore window.
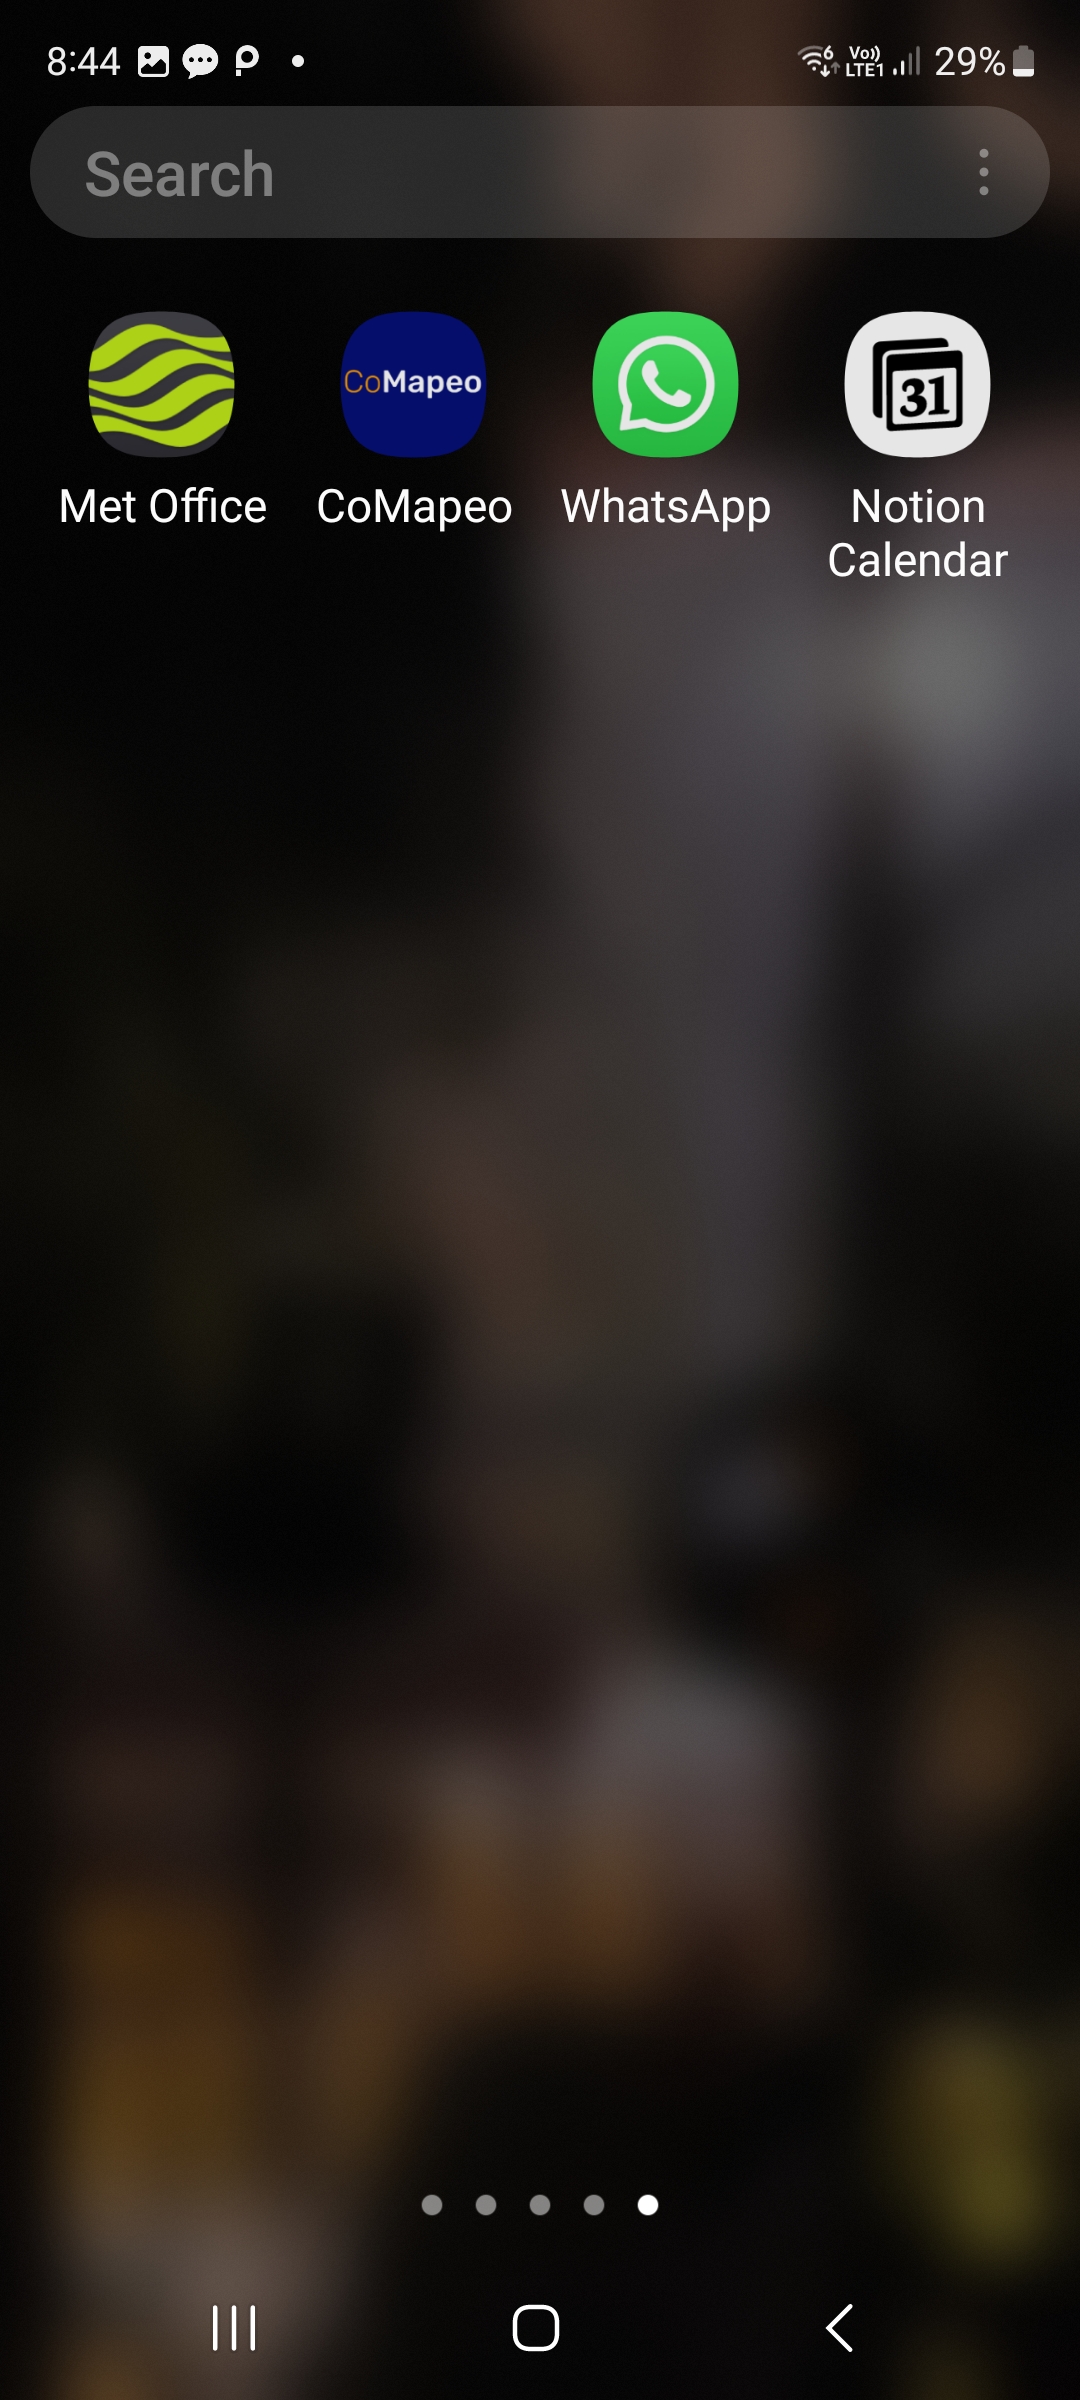
Step 3b: Open CoMapeo from phone
You can also open CoMapeo from the list of apps on your phone where it will now appear.
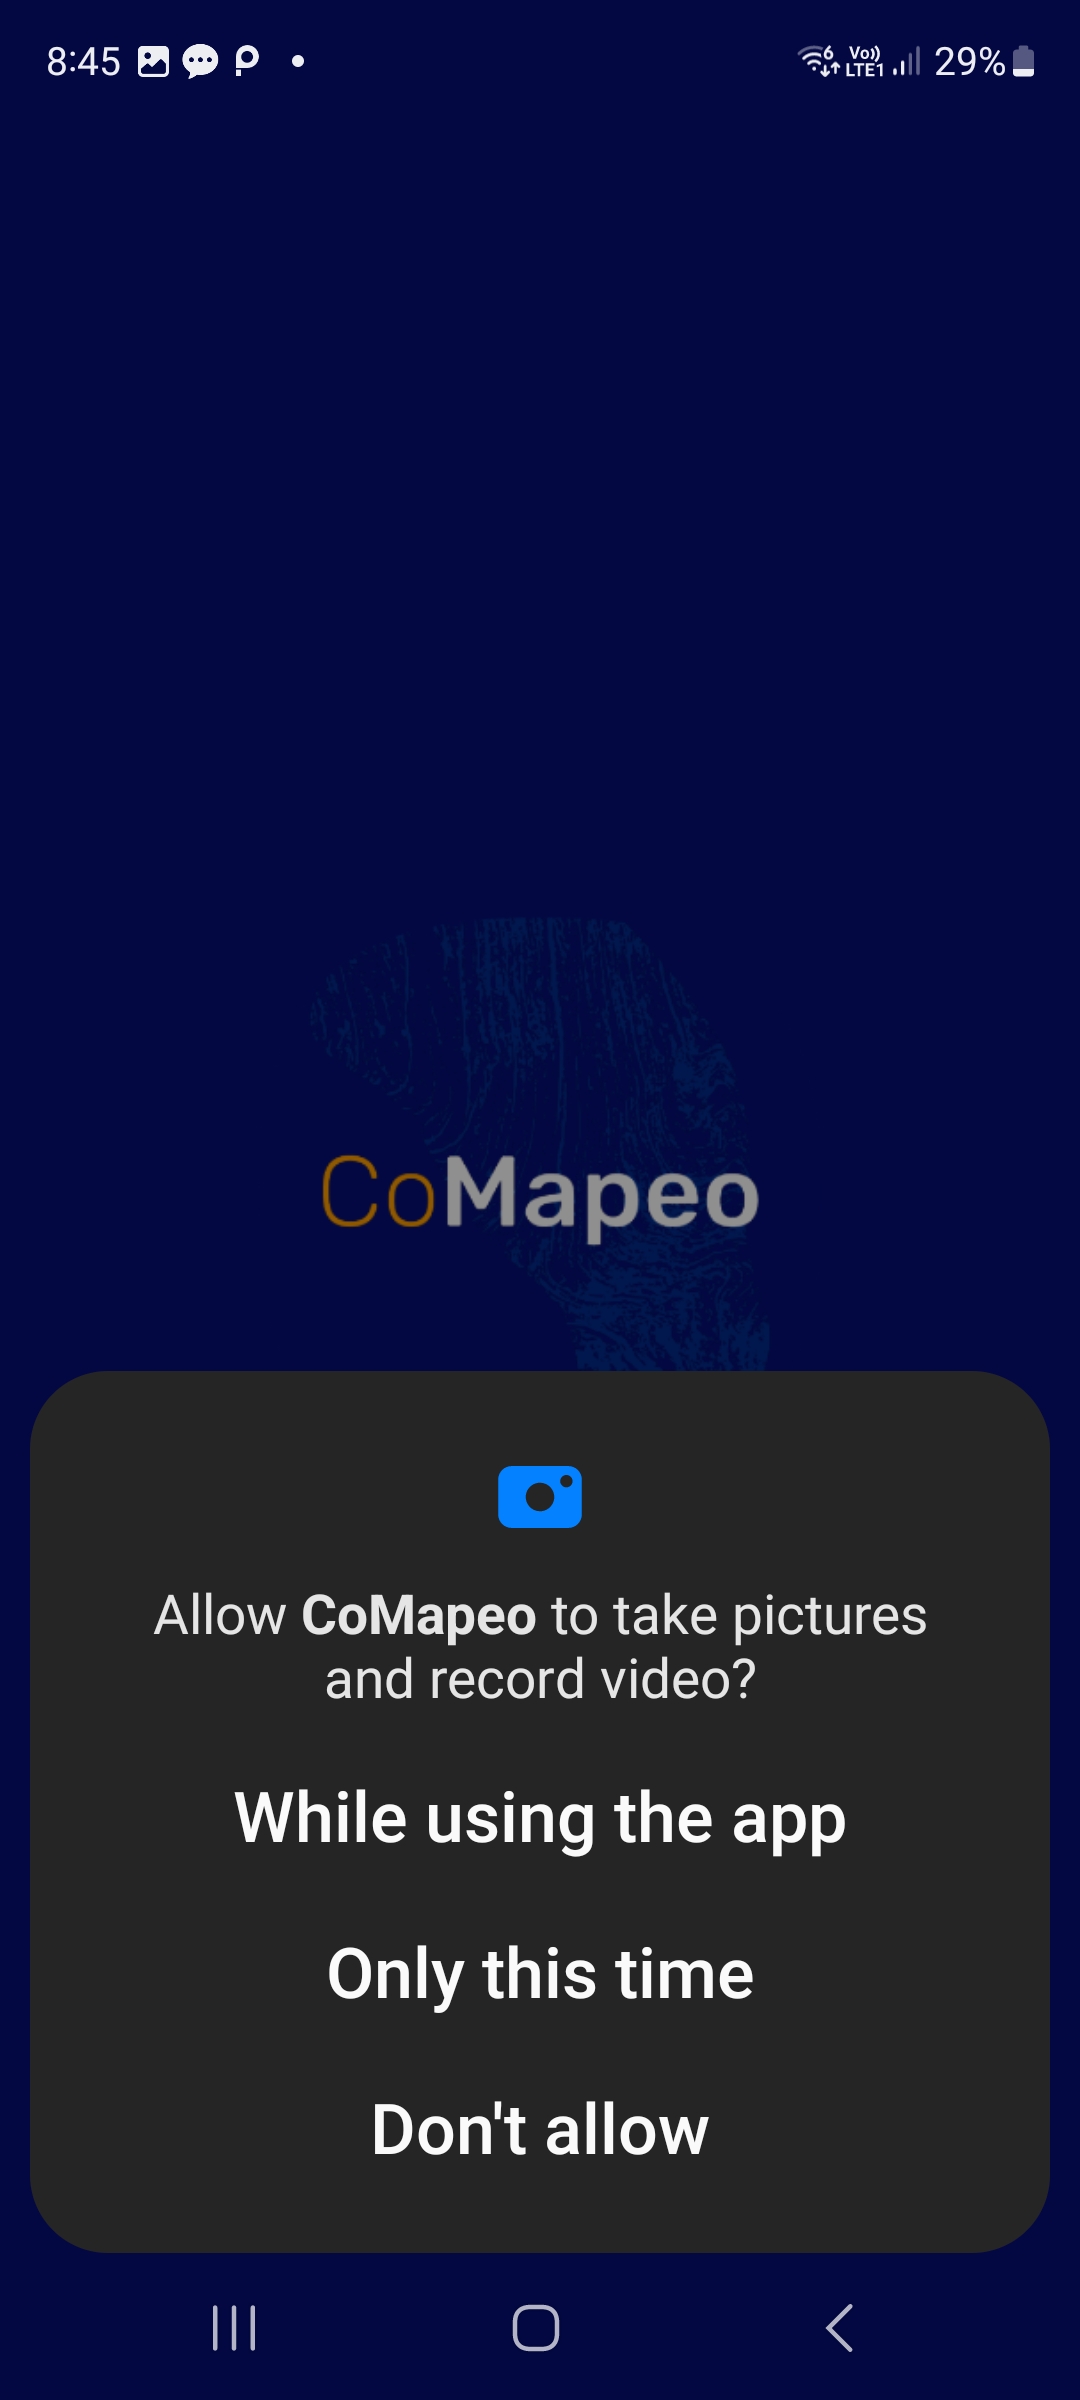
Step 4: Permission to take photos
CoMapeo will ask for permission to take photos, which is one of the main features of the app. If you don’t grant it permission, you will not be able to use this feature (but other parts of the app will still work).
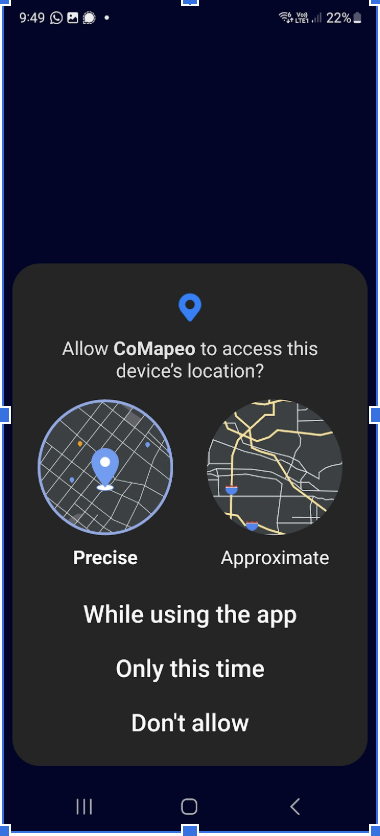
Step 5a: Permission to access location
CoMapeo needs to access your device’s location in order to collect GPS coordinates to save with your data. If you don’t grant permission you will be able to use other features of the app, and give it access later, or enter GPS coordinates manually.
Newer Android versions appear like the image here, in this case, choose Precise location otherwise your data collection might be compromised.
Step 5b: Permission to access location
Phones with older android versions will appear like the image here.

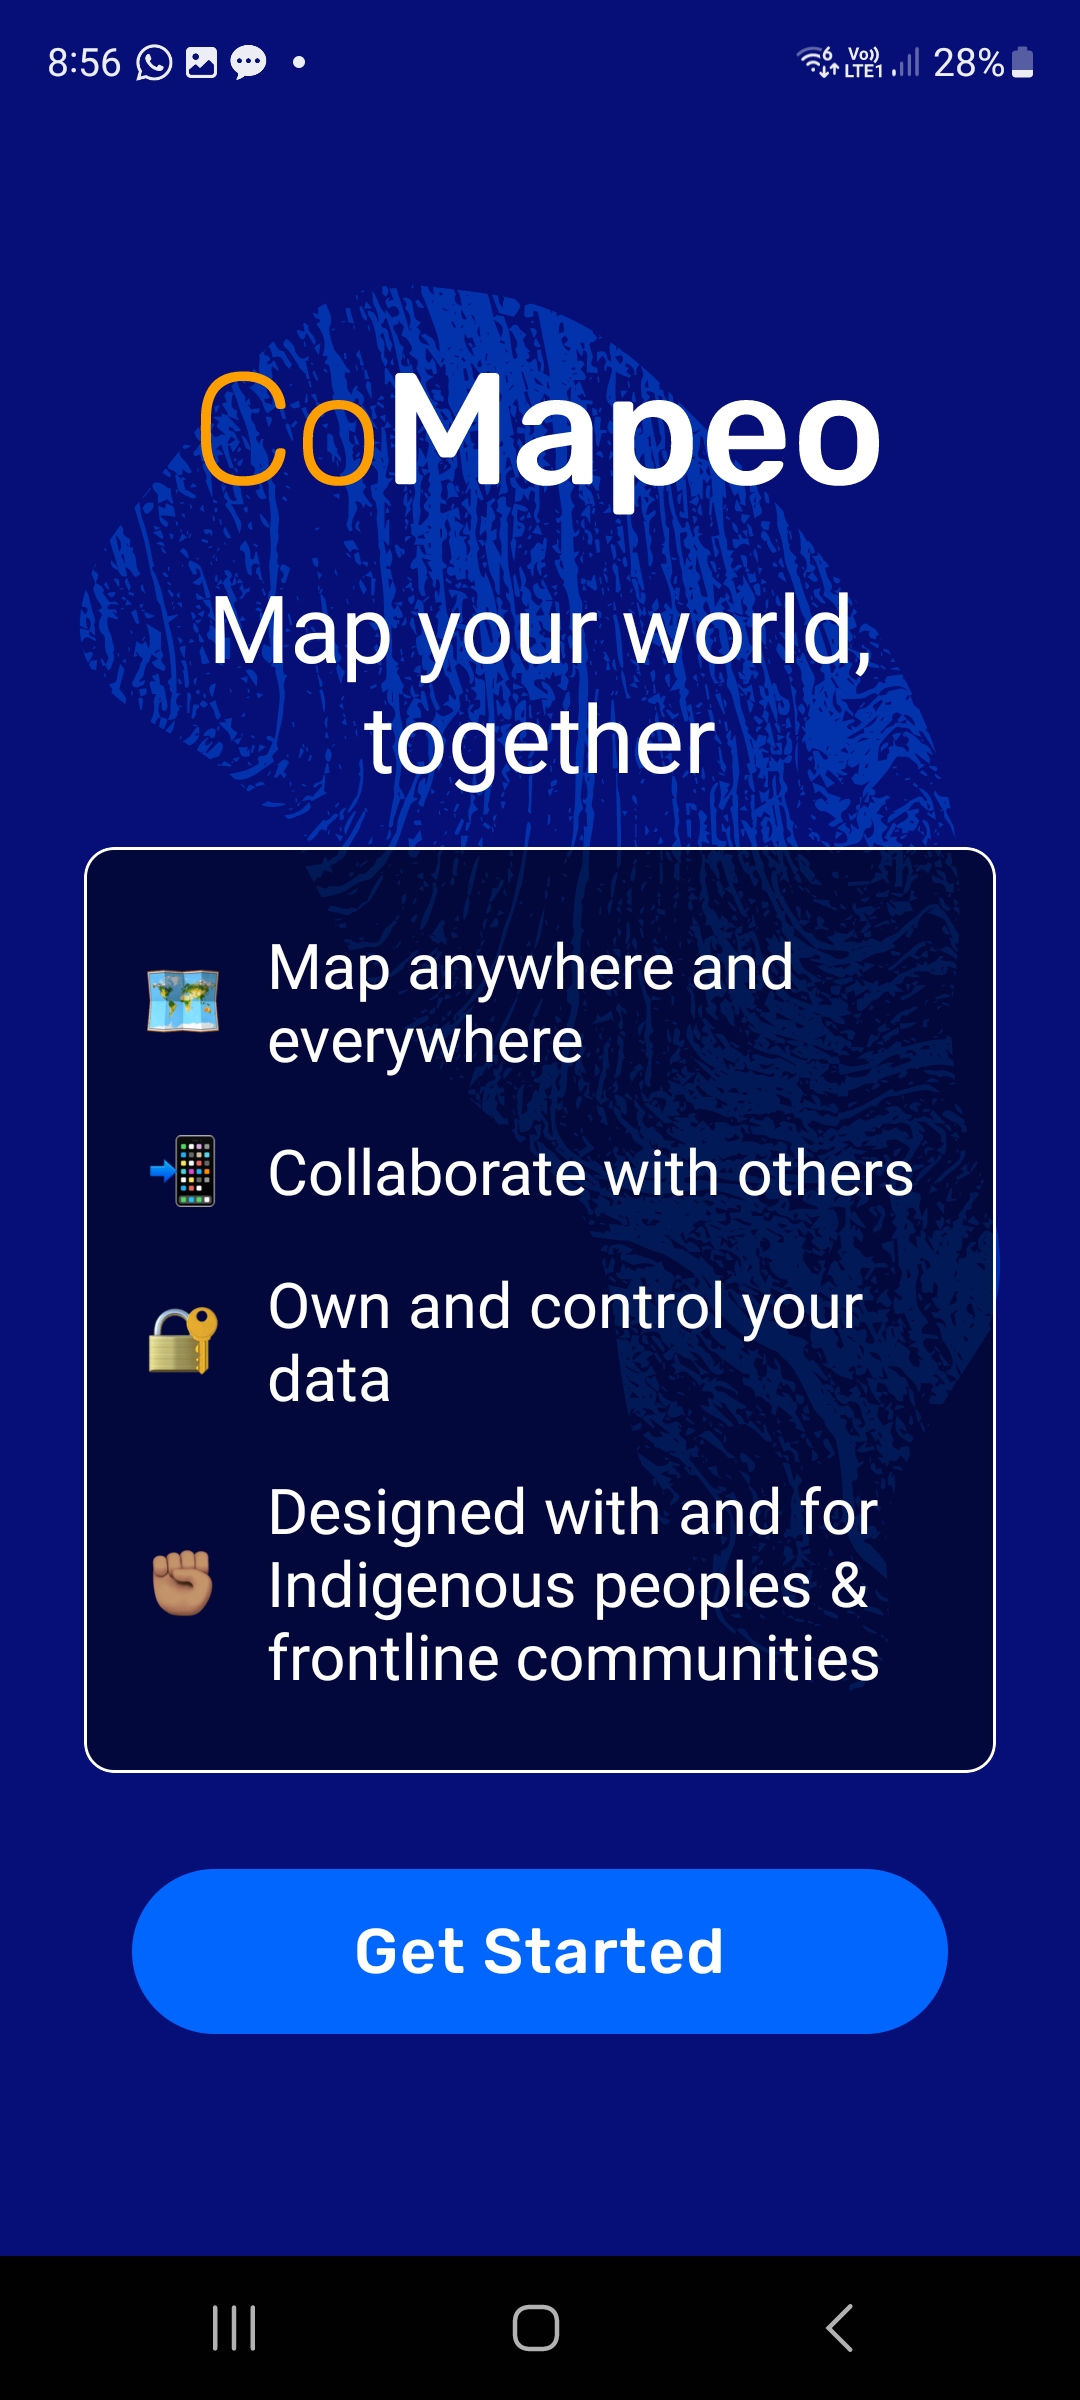
Step 6: Welcome screen
Welcome to CoMapeo. Click the Get Started button to move on.
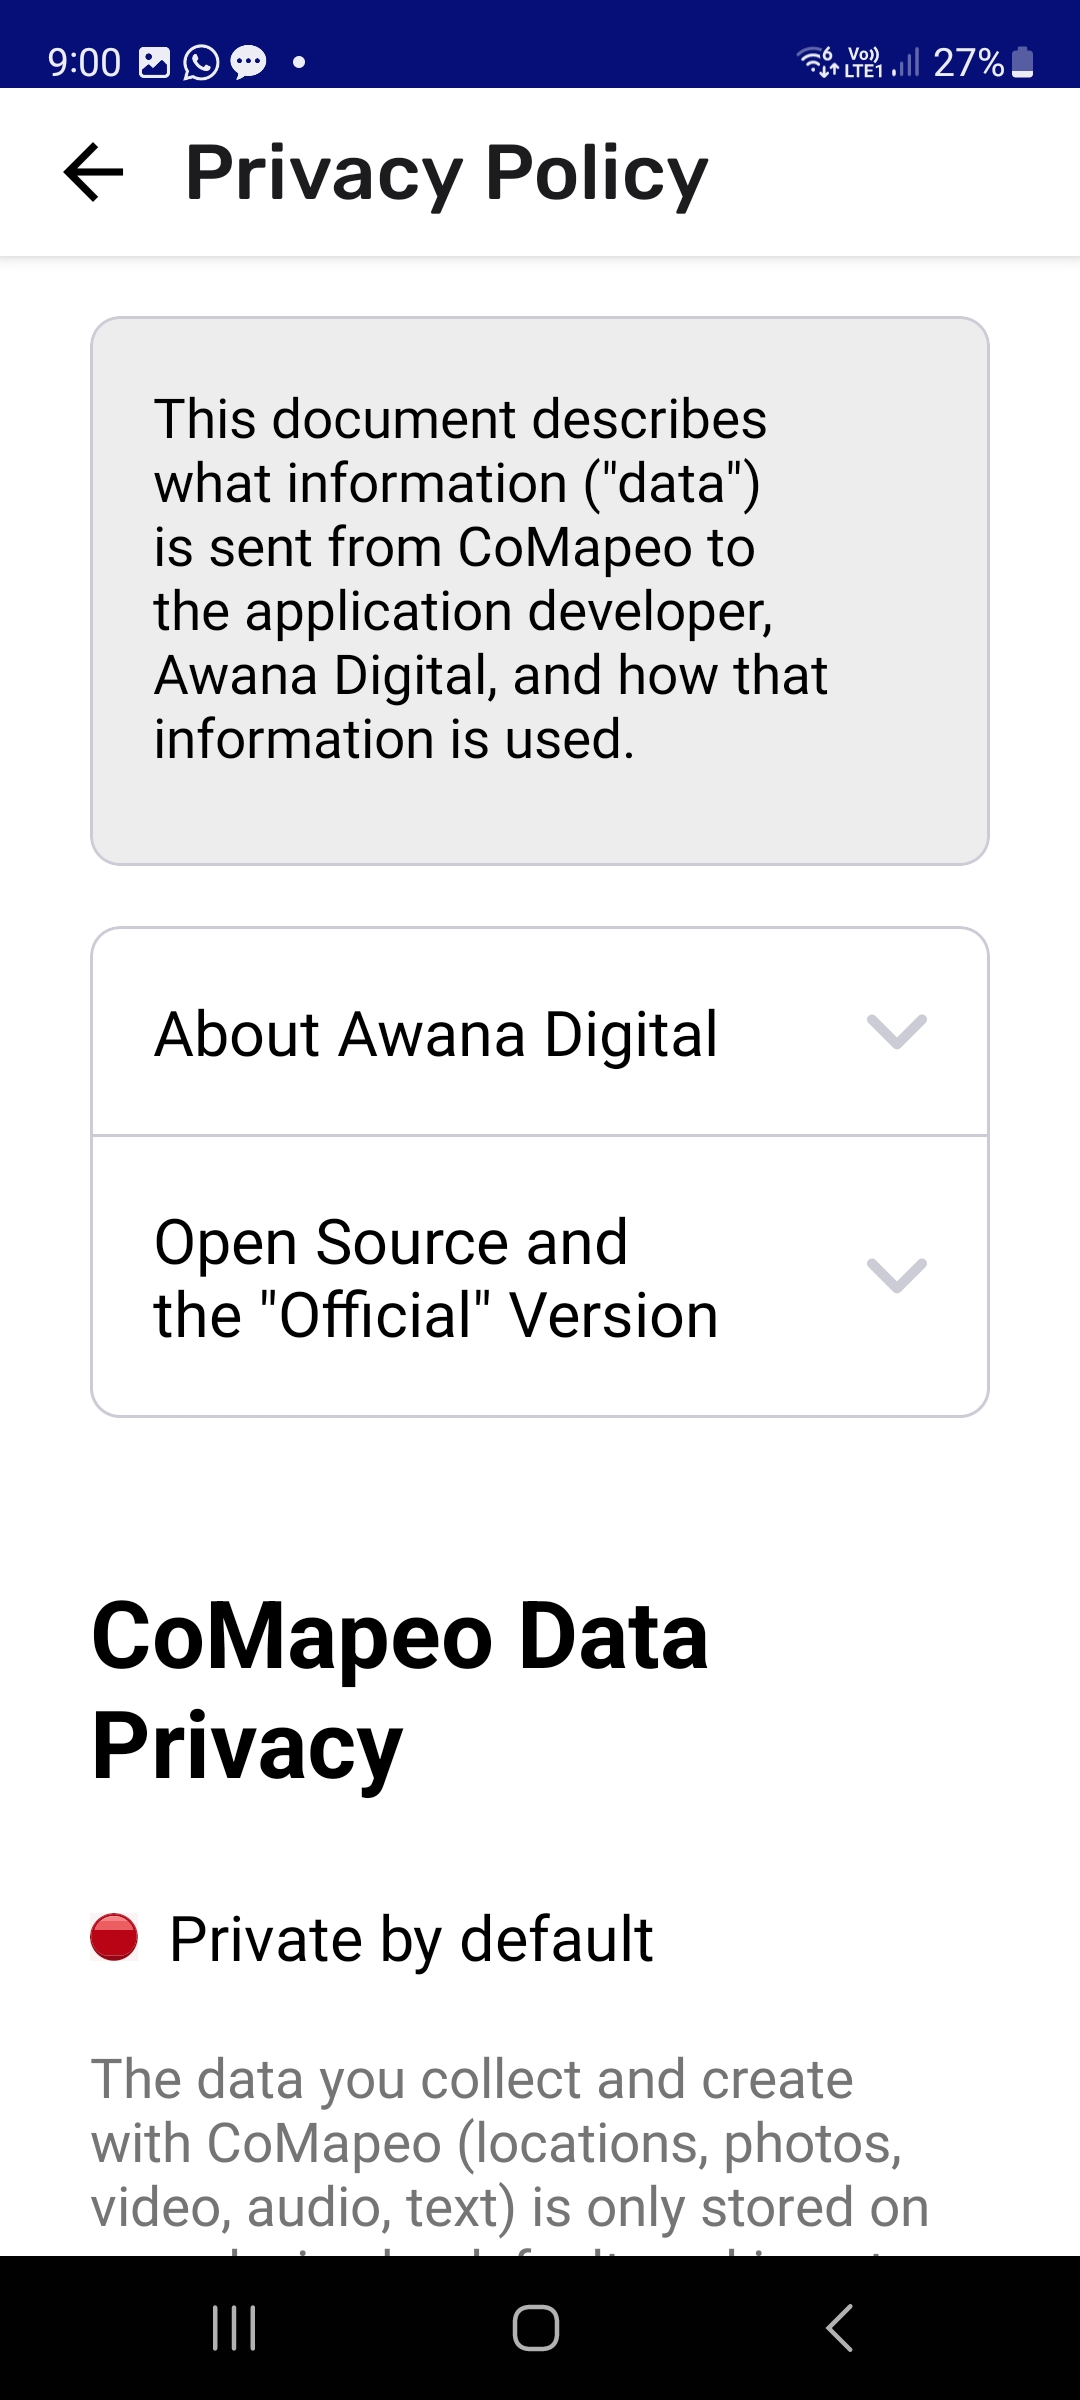
Step 7: Data and Privacy
Find out more about how Awana Digital has built CoMapeo to keep your data safe and secure.
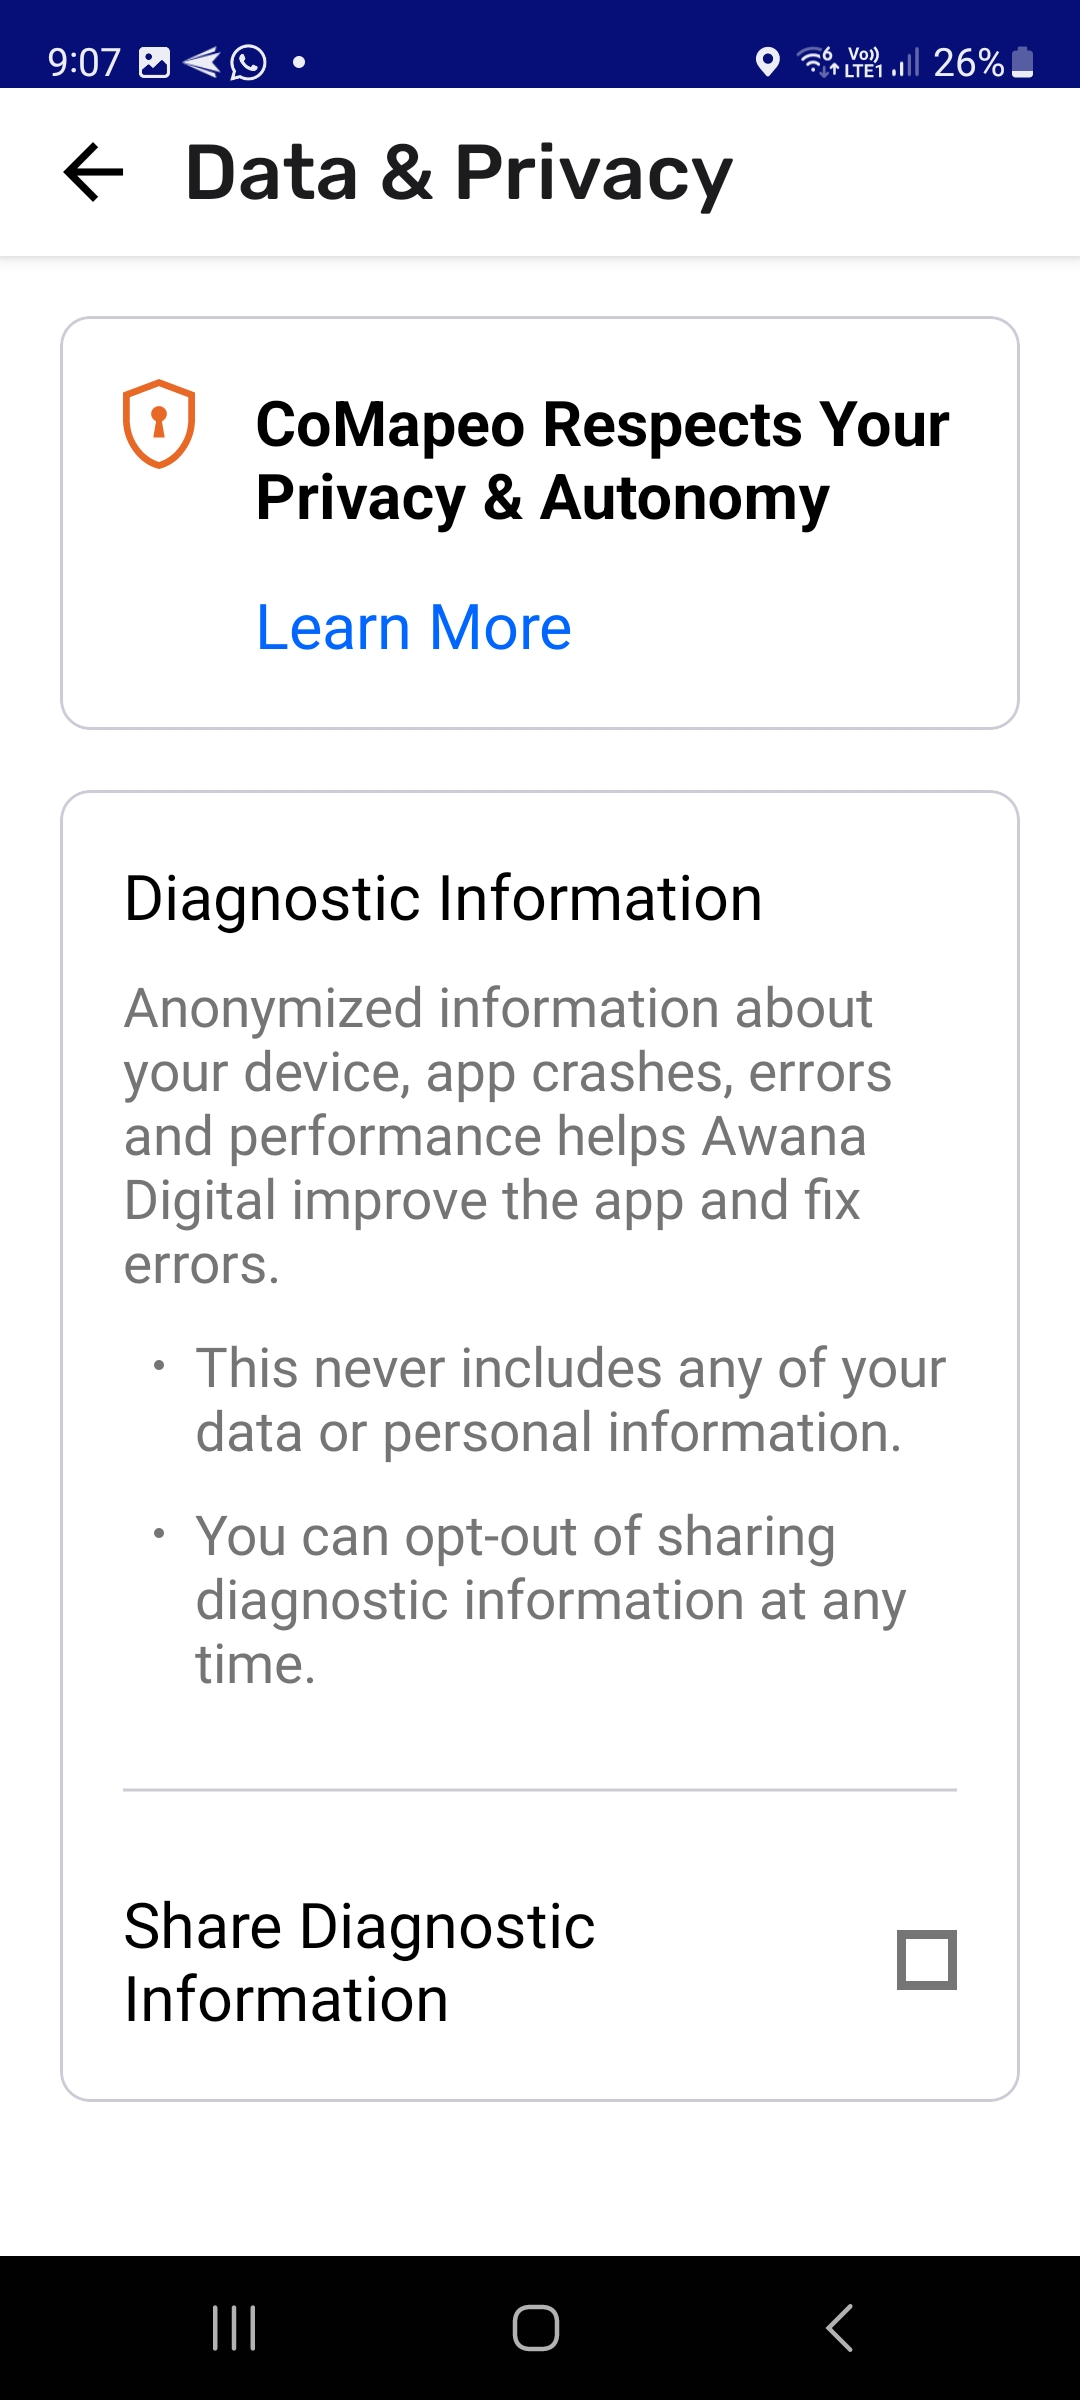
Click on Learn More for further details on data privacy and what data is sent to Awana Digital to help us improve the app.
Here you can also choose to [opt in] or [opt out] of sharing diagnostic data. This can also be changed later via Settings > Data Privacy.
See Privacy Policy in English : CoMapeo Data & Privacy
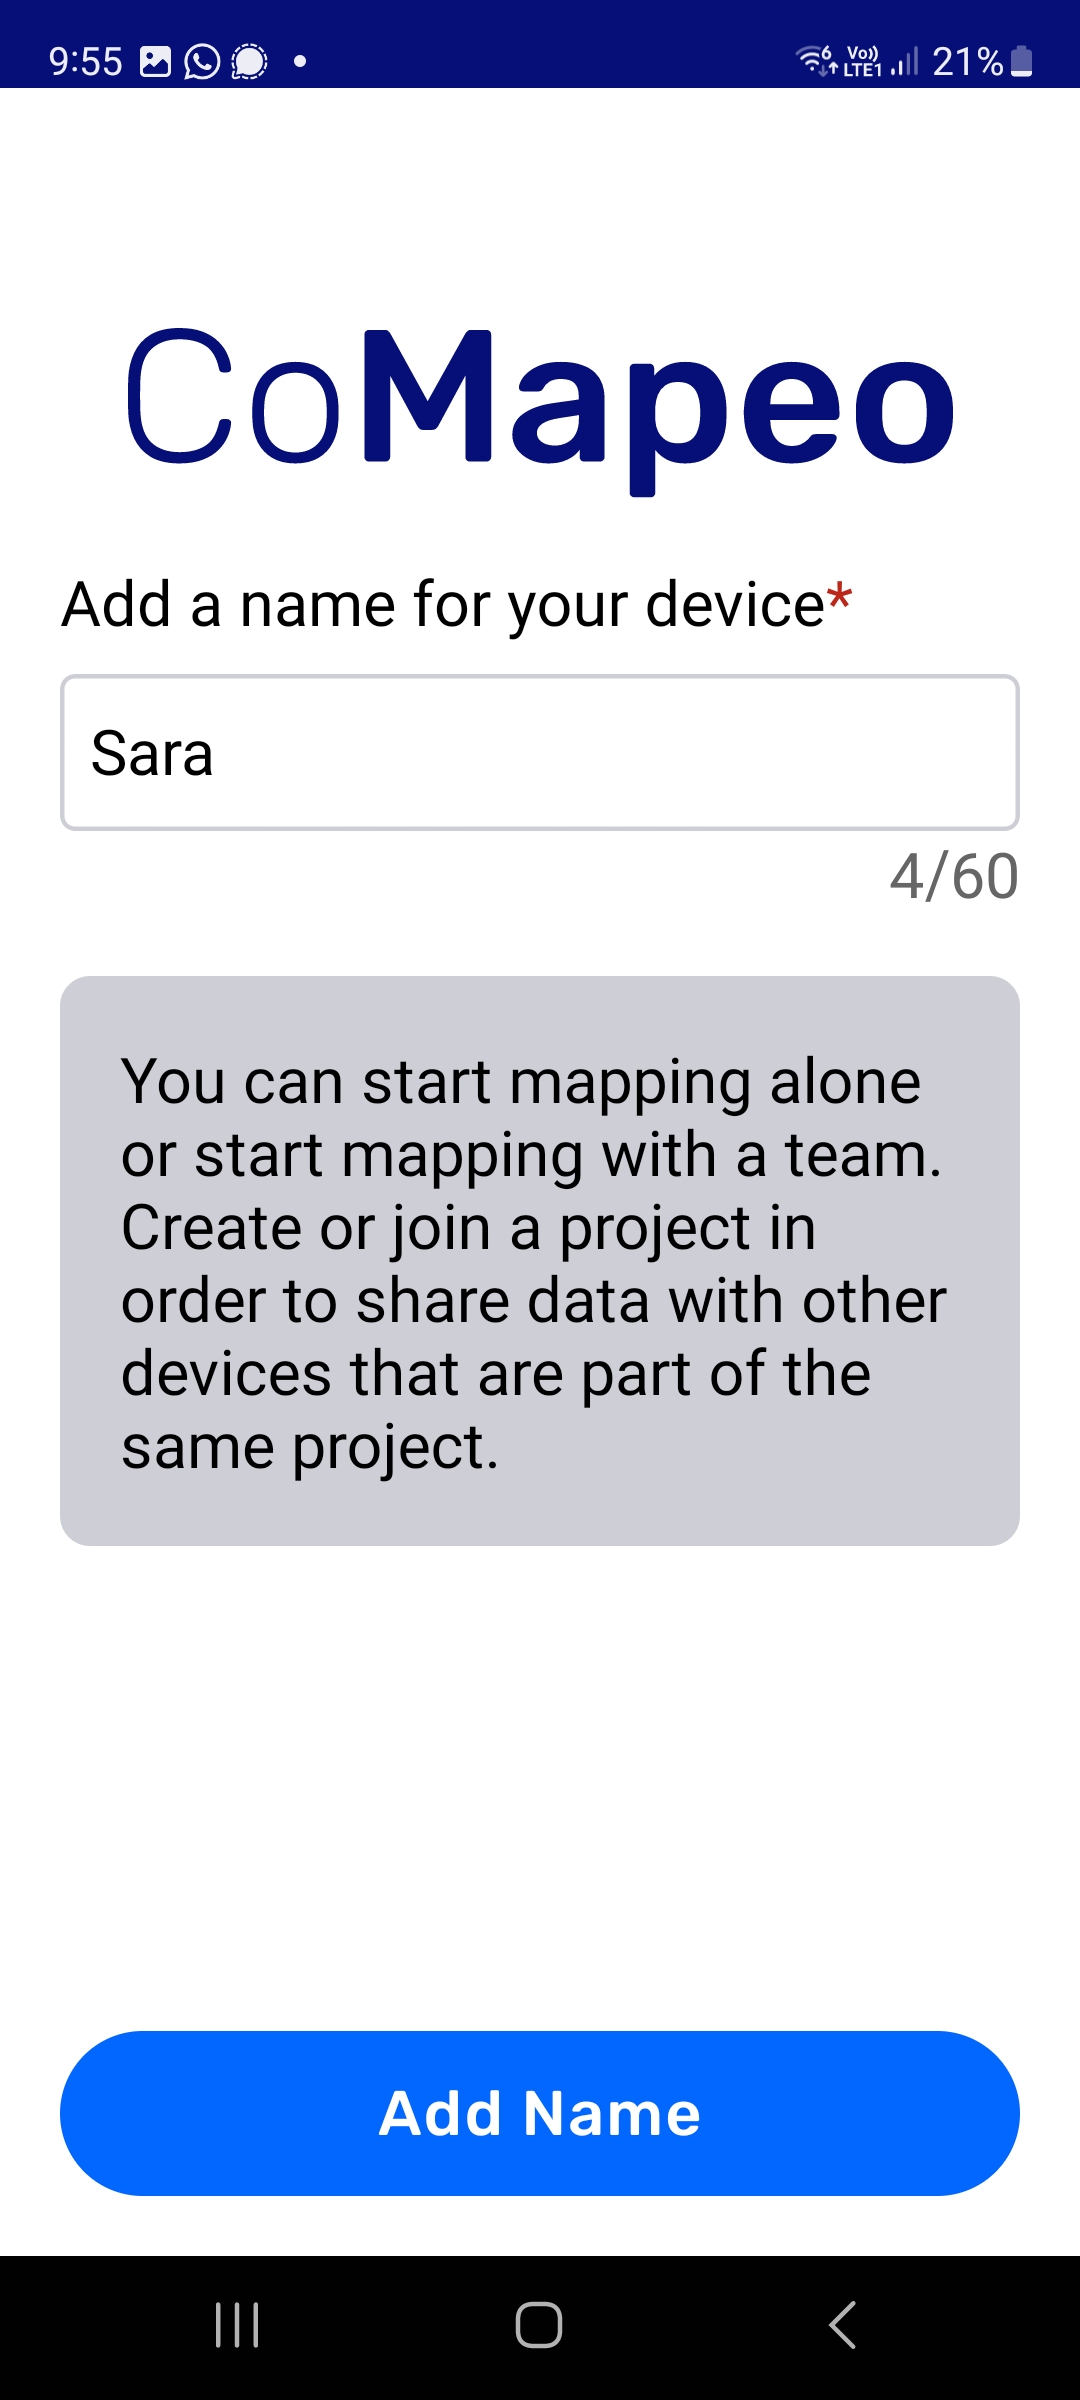
Step 8: Name your device
You must enter a name for your device. This is the name other devices will see when inviting you to project, and will display in the list of project members. It does not have to be your name, but if you are using CoMapeo as part of a team, on a shared project, we recommend that you get an agreement that works for everyone about how you are going to name the devices.
For example you might want to use the name of the person using that particular device, or you might want to use something anonymous for safety issues (like Mapper 1), or you might want to put a sticker on each phone with its name if they are being used by multiple people.
Step 9: Start using CoMapeo
You should get a success screen and then click “Go to Map” to start collecting data.

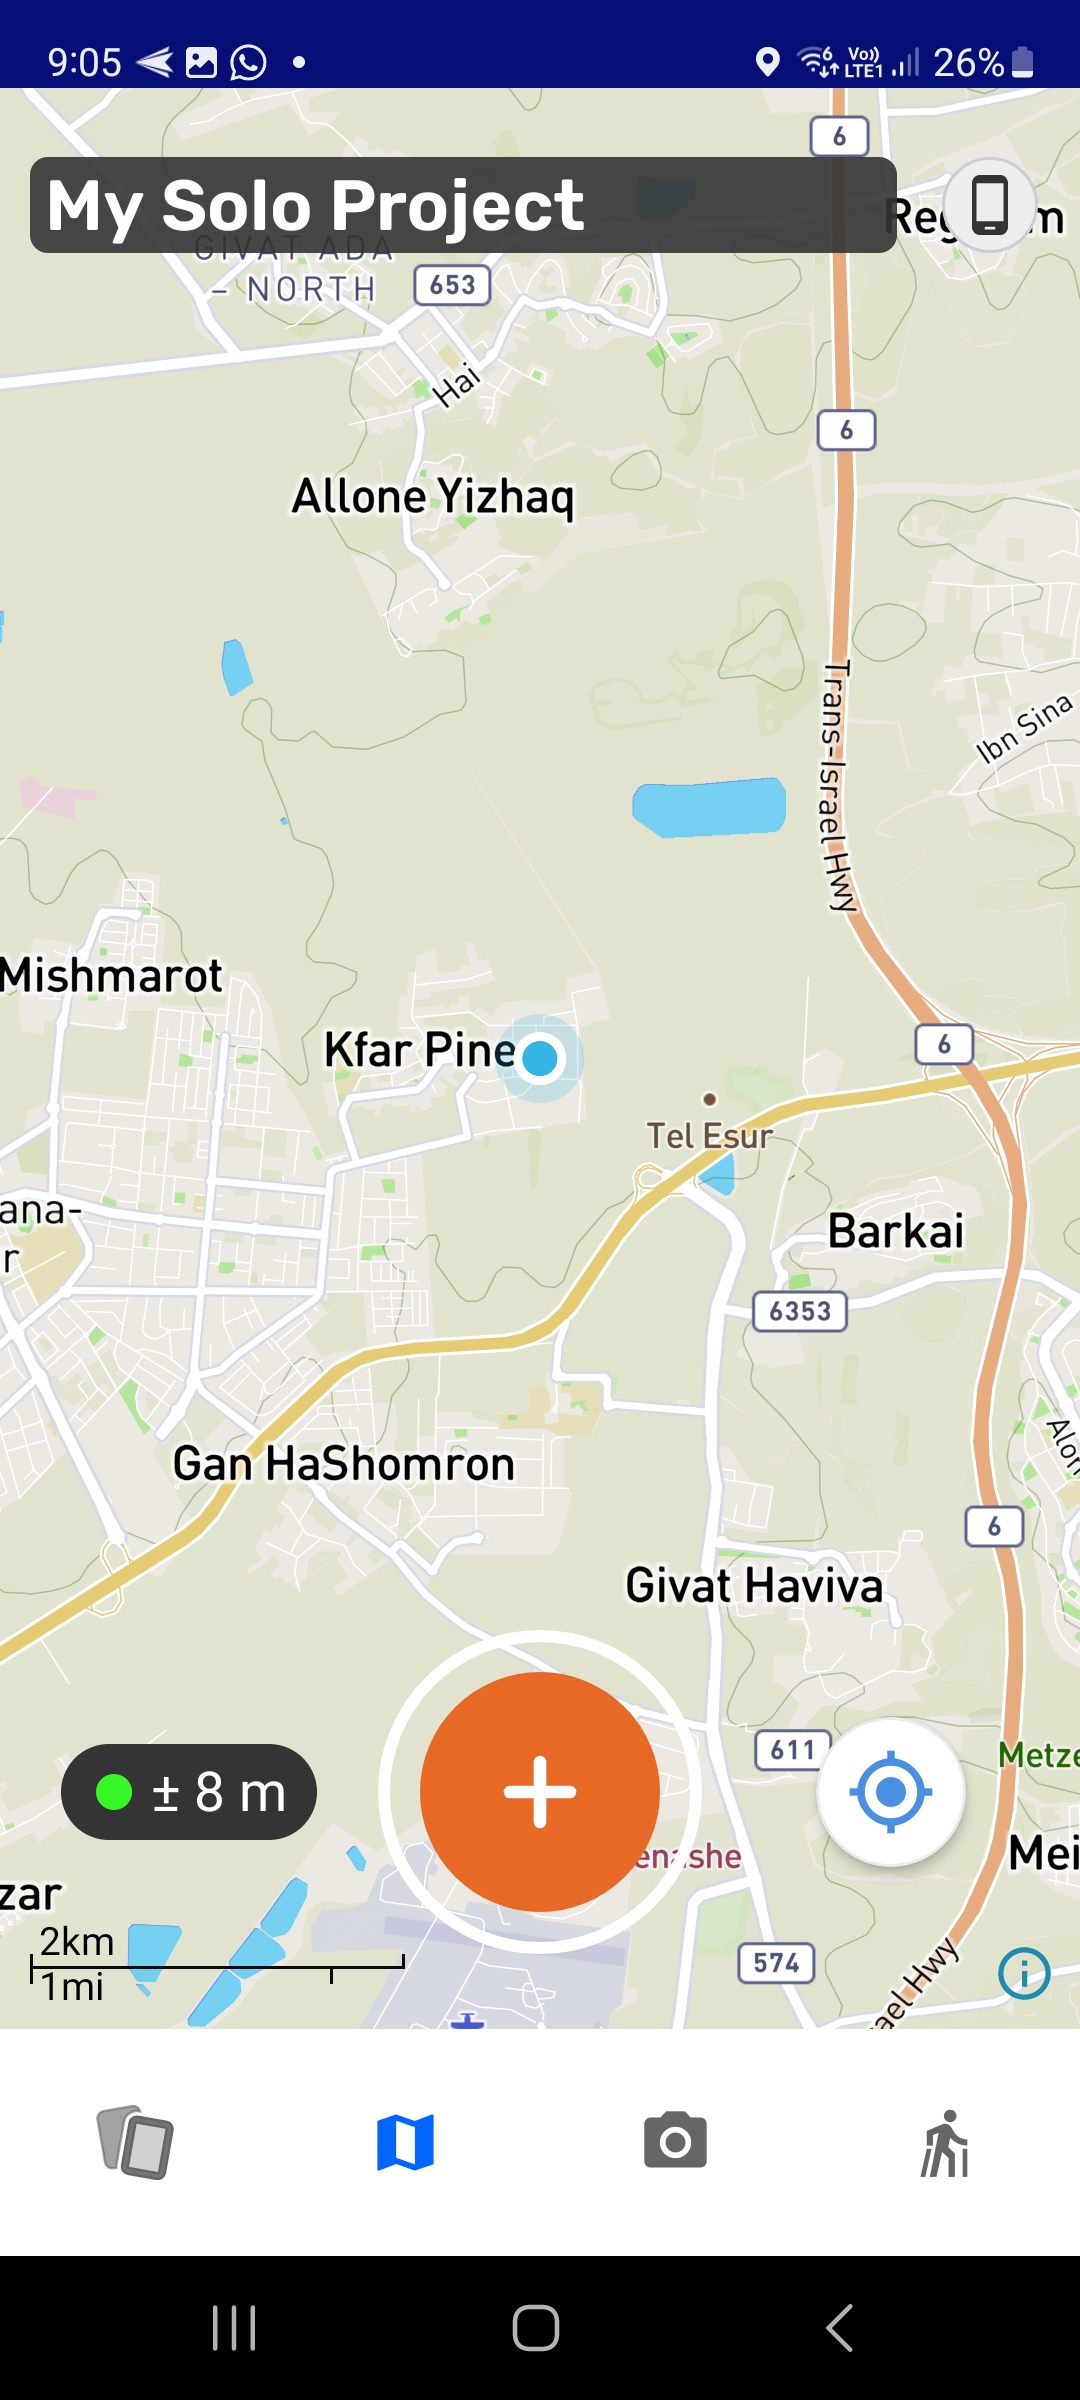
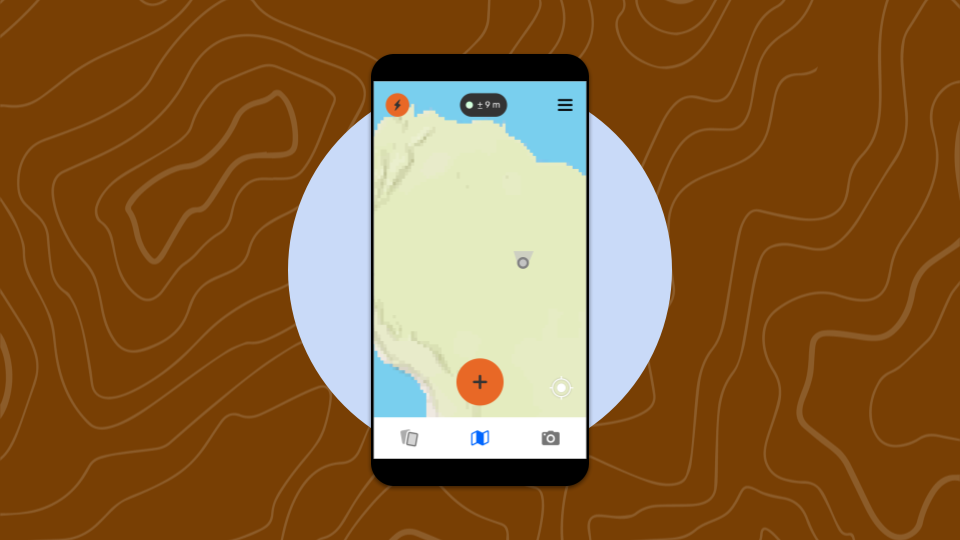
Step 10: The map screen
Your first view of CoMapeo should look like this.
For support on joining or creating a project with others, see Creating a New Project and Inviting Collaborators.
For support on starting to collect data alone, within your Solo Project, see Mapping on your own and next steps.
Onboarding
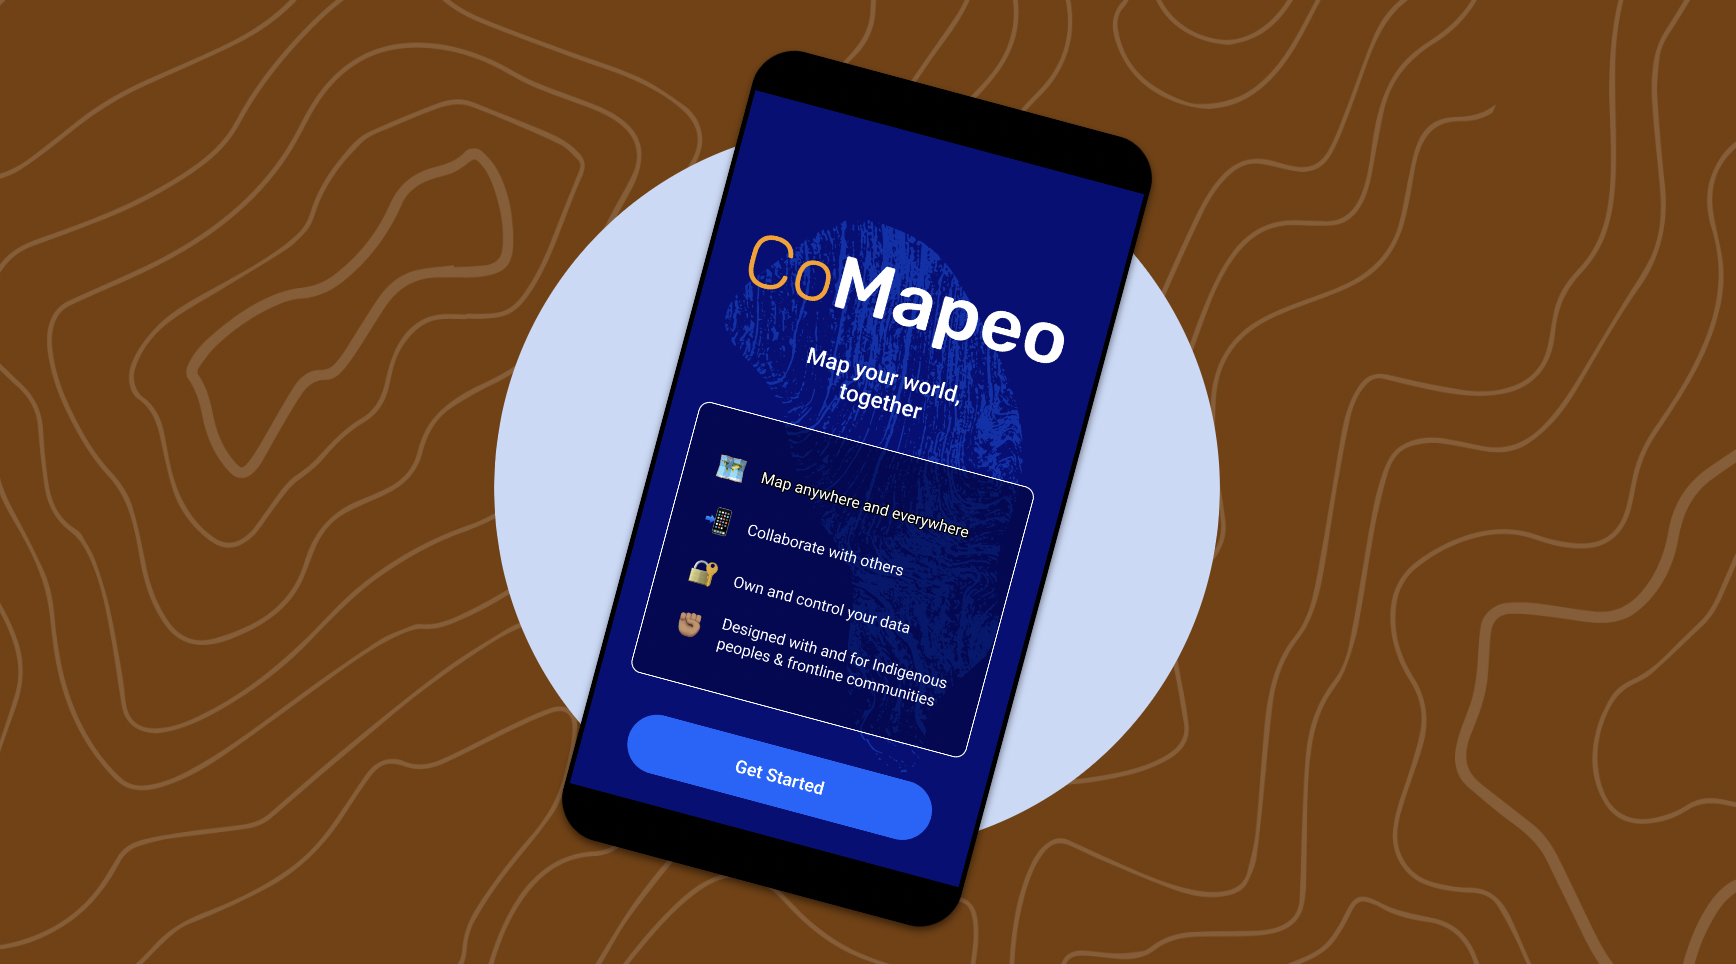
There are 3 steps to Onboarding:
- Welcome Screen You will be invited to [Get Started] and asked for device permissions upon startup.
- Metrics & Privacy Policy
The app will present the metrics it collects, and you can choose to [opt in] or [opt out]. This can also be changed later via Settings > Data Privacy.
- See Privacy Policy in English : Untitled
- Device Naming You must enter a name for the device. This is the name other devices will see when inviting you to project, and will display in the list of project members.
After completing the above steps, CoMapeo is ready to use on your device.
First Use of the App
After Onboarding, CoMapeo will always start in the Map view. You may enter the app and begin exploring its features. When you use CoMapeo for the first time, your device is not part of a project and is not assigned any roles (Coordinator or Participant.)