H1 Heading
Body text followed by divider- Lorem ipsum dolor sit amet, consectetur adipiscing elit, sed do eiusmod tempor incididunt ut labore et dolore magna aliqua. Ut enim ad minim veniam, quis nostrud exercitation ullamco laboris nisi ut aliquip ex ea commodo consequat. Duis aute irure dolor in reprehenderit in voluptate velit esse cillum dolore eu fugiat nulla pariatur. Excepteur sint occaecat cupidatat non proident, sunt in culpa qui officia deserunt mollit anim id est laborum.
H2 Heading
- bullets - Lorem ipsum dolor sit amet, consectetur adipiscing elit, sed do eiusmod tempor incididunt ut labore et dolore magna aliqua. Ut enim ad minim veniam, quis nostrud exercitation ullamco
- bullets - laboris nisi ut aliquip ex ea commodo consequat
- bullets!
H3 Heading
→ arrows
→ arrows
Body text followed by wakthrough module - Lorem ipsum dolor sit amet, consectetur adipiscing elit, sed do eiusmod tempor incididunt ut labore et dolore magna aliqua. Ut enim ad minim veniam, quis nostrud exercitation ullamco laboris nisi ut aliquip ex ea commodo consequat.
Walkthrough (in bold)
Step 1: (line break) Do something cool
Step 2: (line break) Celebrate!
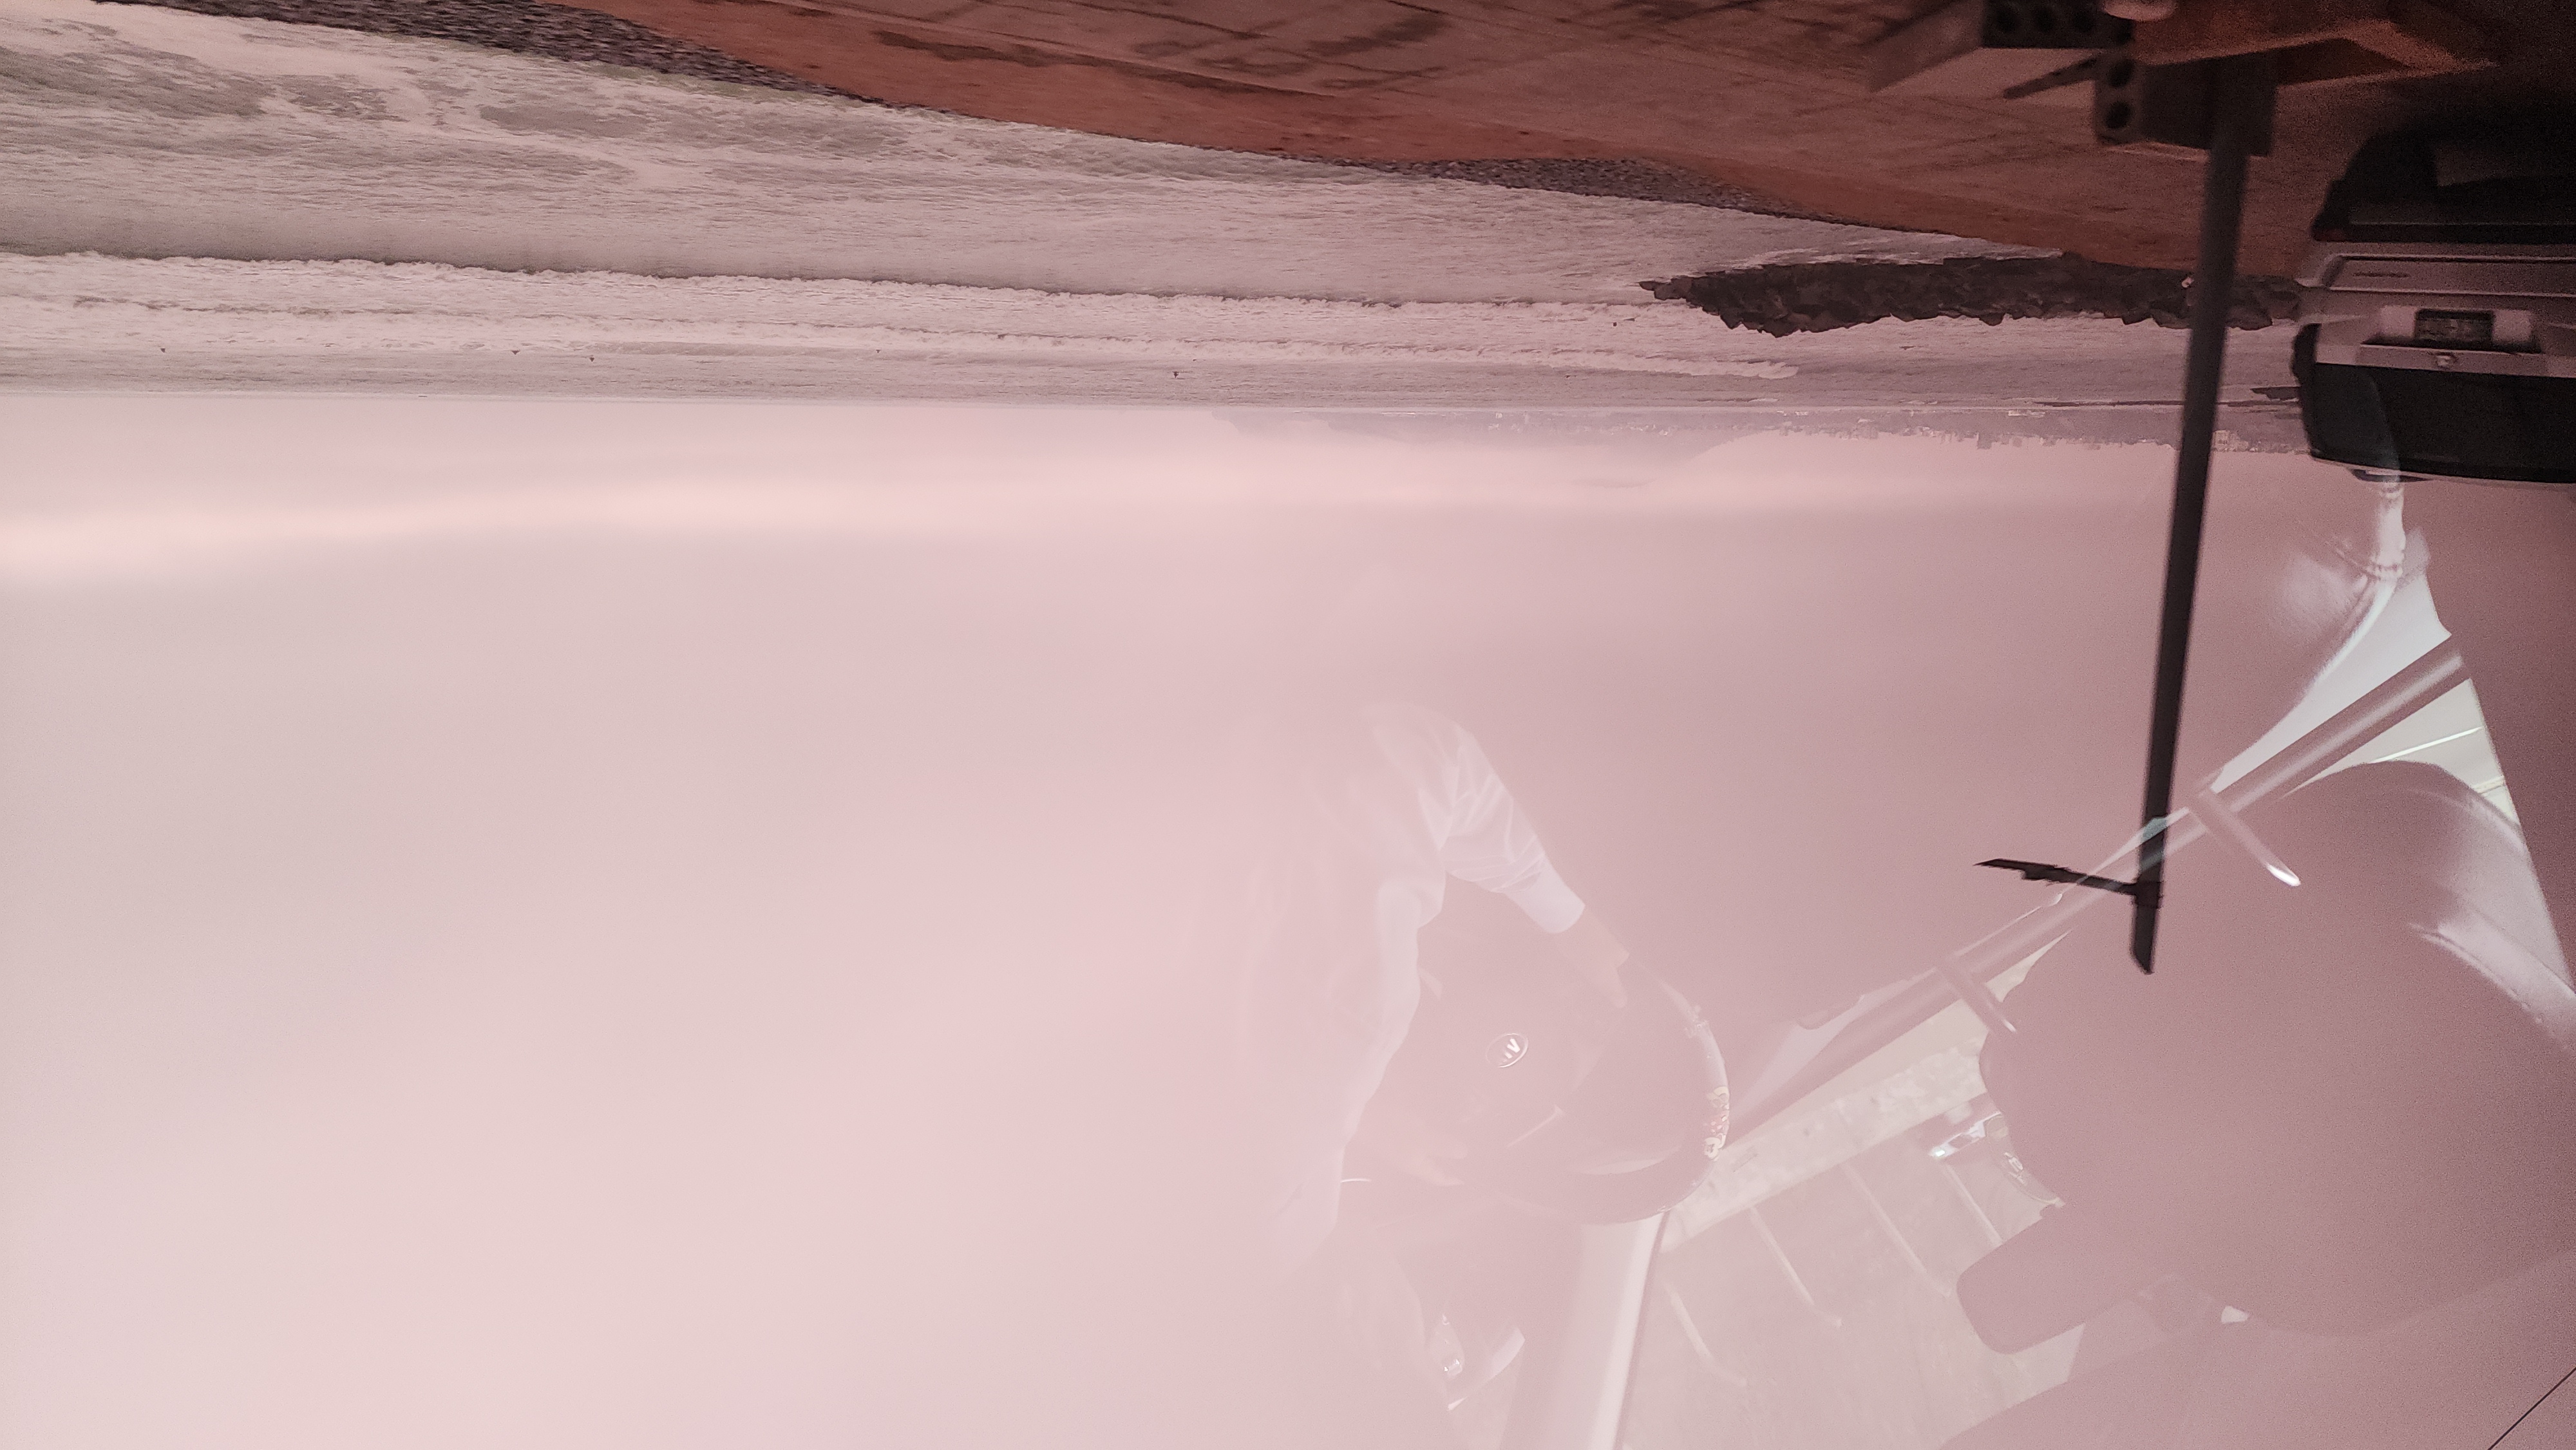
[Image caption in grey]
👁️ Callout in green with bold text
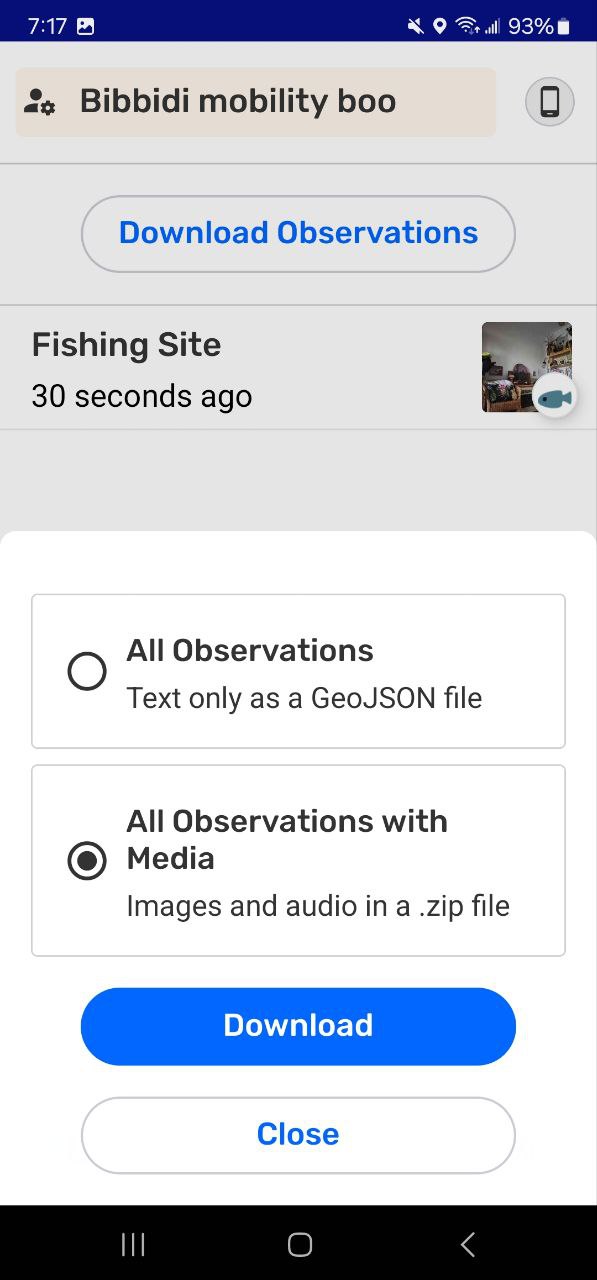
See screen capture below
→ Arrow then Video of something (42 MB)


Screencapture of inserted images of various resolutions above
Other text formats like italics, underline or monospace/code format
H2 Grey background block
Do we have coloured text like blue, grey, green or red?
H2 Pink background block
What about background (highlight) text colours for section subheadings? yellow, green, red, blue
H2 Yellow background block
Let’s get wild!! Here is inlne emojis ▶️ [play] ⏹️ [square stop] ❌ [red X] 🗑️ [trash bin] 💾 [3 inch floppy save] ✅ [green check mark]
✔️ [grey check for checklist]
⛔ [ no entry]
🚫 [prohibited]
🟢 [green circle], 🟡 [ yellow circle], 🔴 circle
❓[ red question mark]
⭕ [ heavy red circle]
🔵 [blue circle]
⚠️ [ warning]
🚧 [under construction]
🏁 [racing flag]
🔄 [cycle loop]
🧩 [ puzzle peice]
💬 [speech ballon]
👣 [footprints]
👀 [ eyes]
🐾 [ paw prints]
⏳[hourglass]
📢 [public loudspeaker]
Customized emojis for comapeo UI elements (would require better pngs)
:comapeo-save-low: [ comapeo-save-low]
:comapeo-capture-low:[comapeo-capture-low]
:comapeo-add-photo-low: [ and so on]
:icon-map-low:, :icon---located:, :icon-add-details-low: :icon-add-audio-low: :icon-coordinates-low:
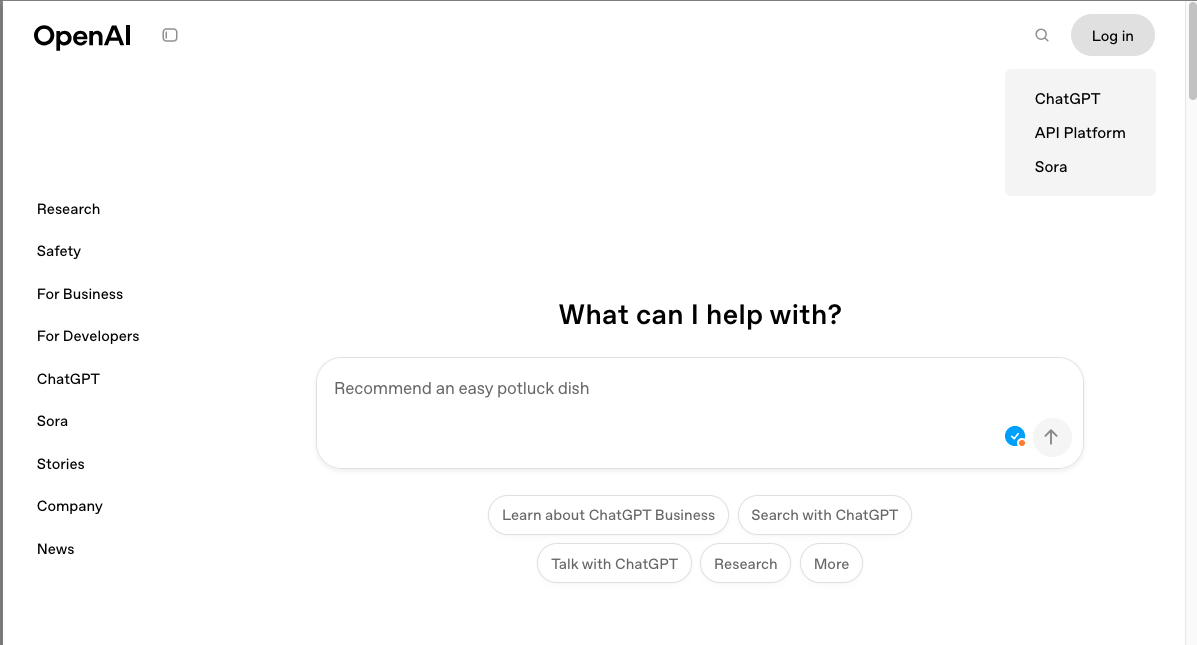
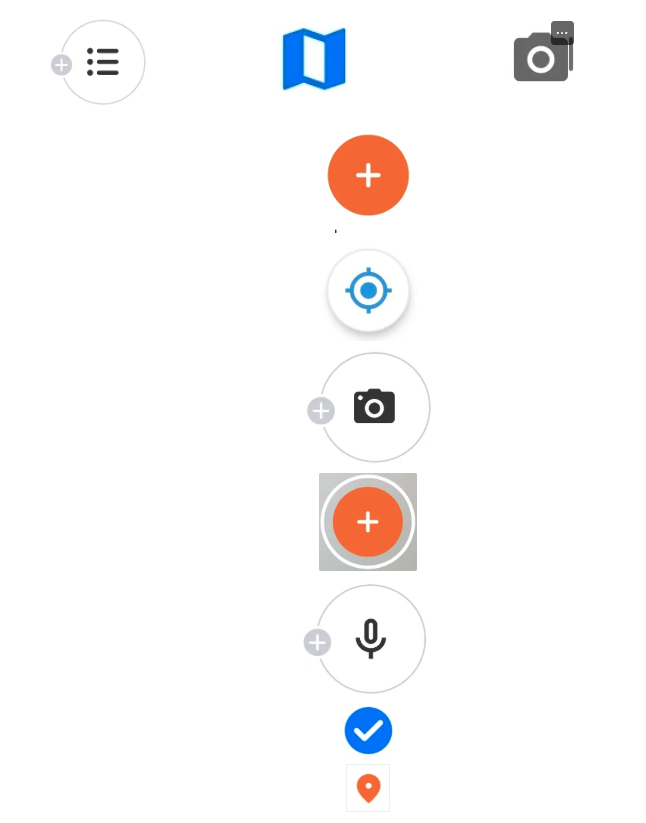
Screencapture of what was added above

Can gifs work too?
Choosing format for instructions
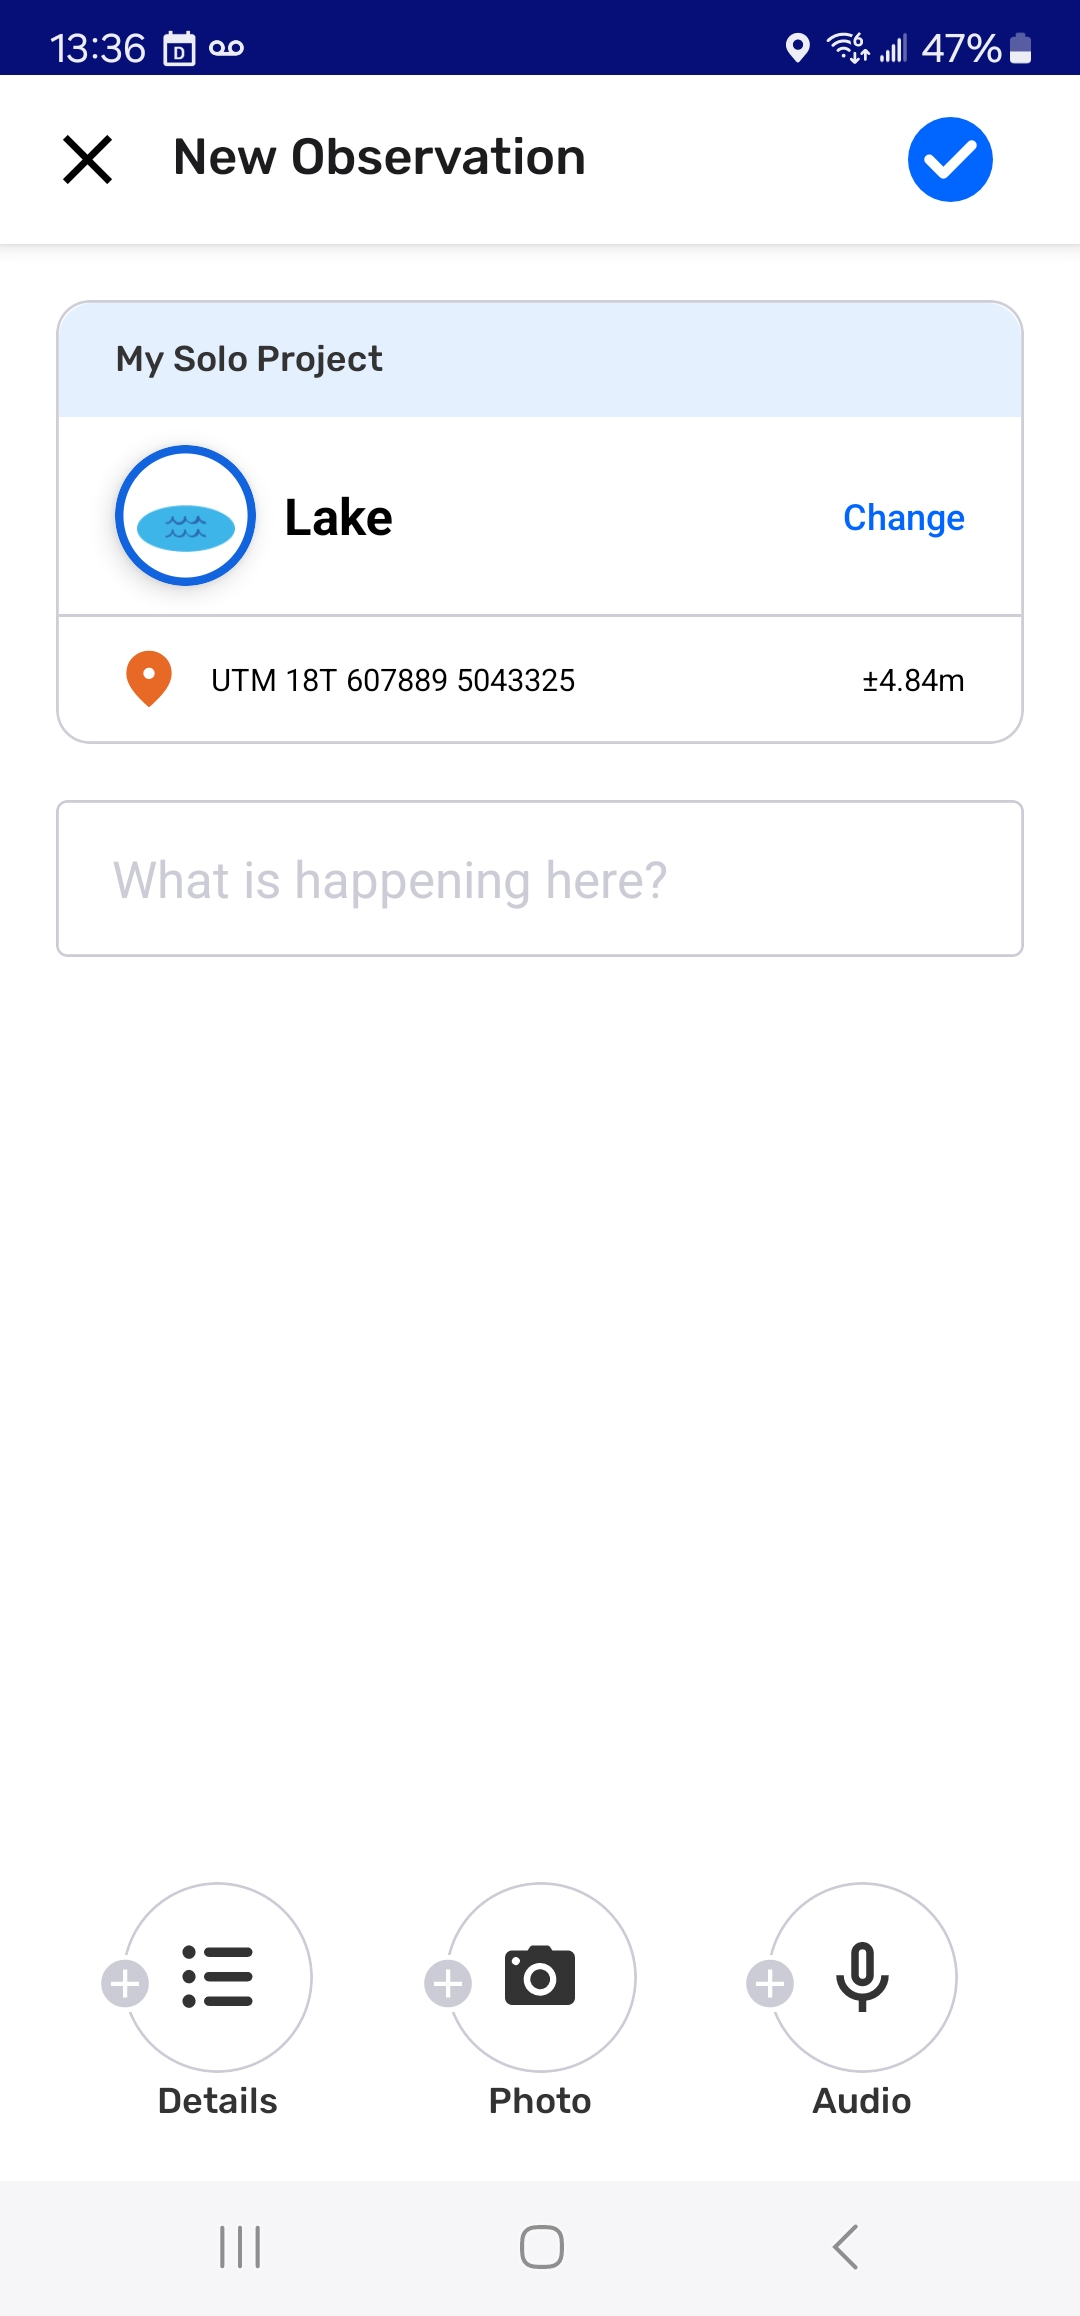
Example 1Step 1: Select **:icon-add-audio-low:**add Audio. Recording will begin immediately

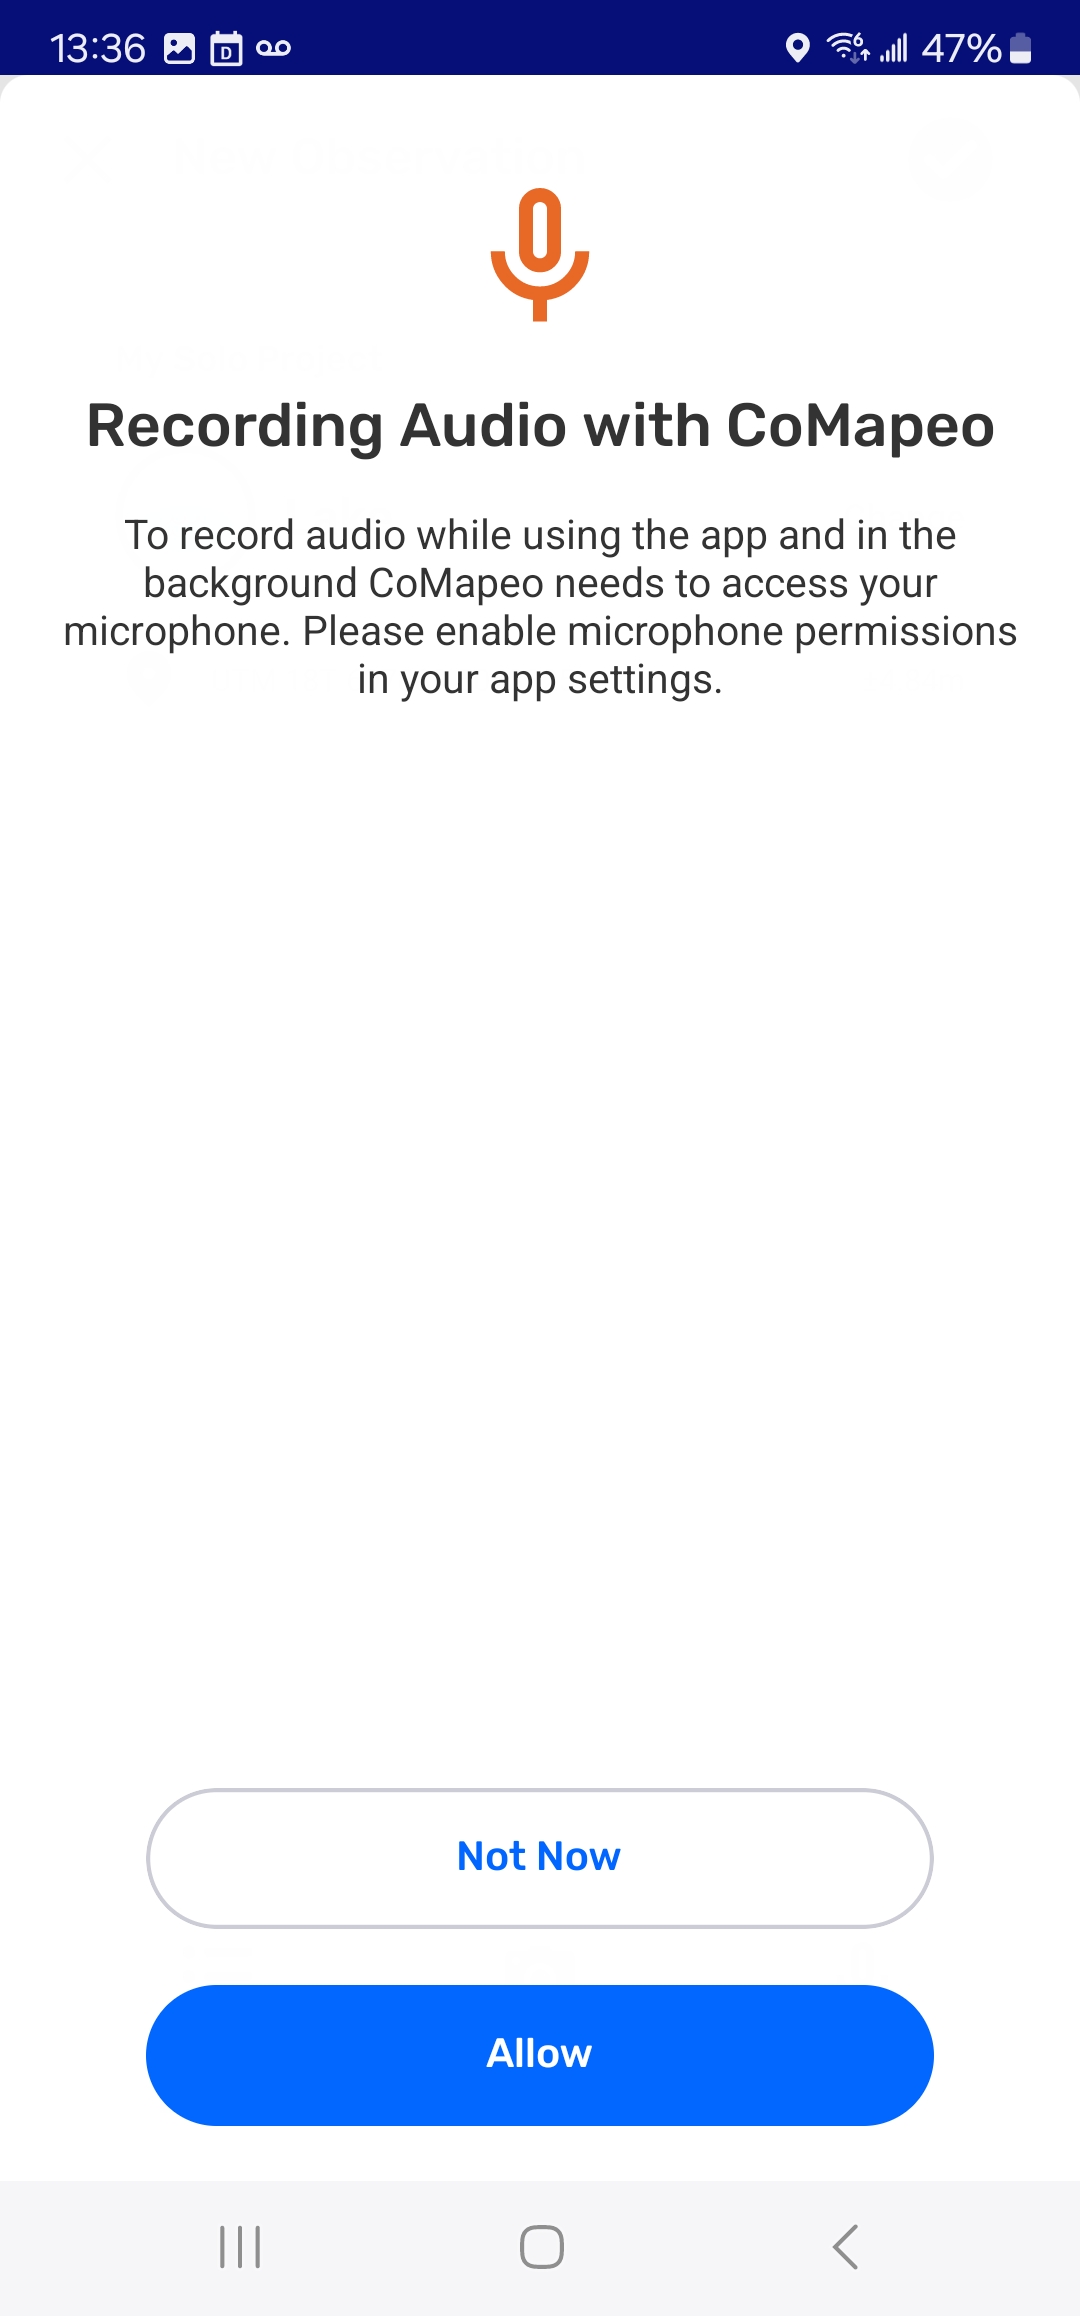
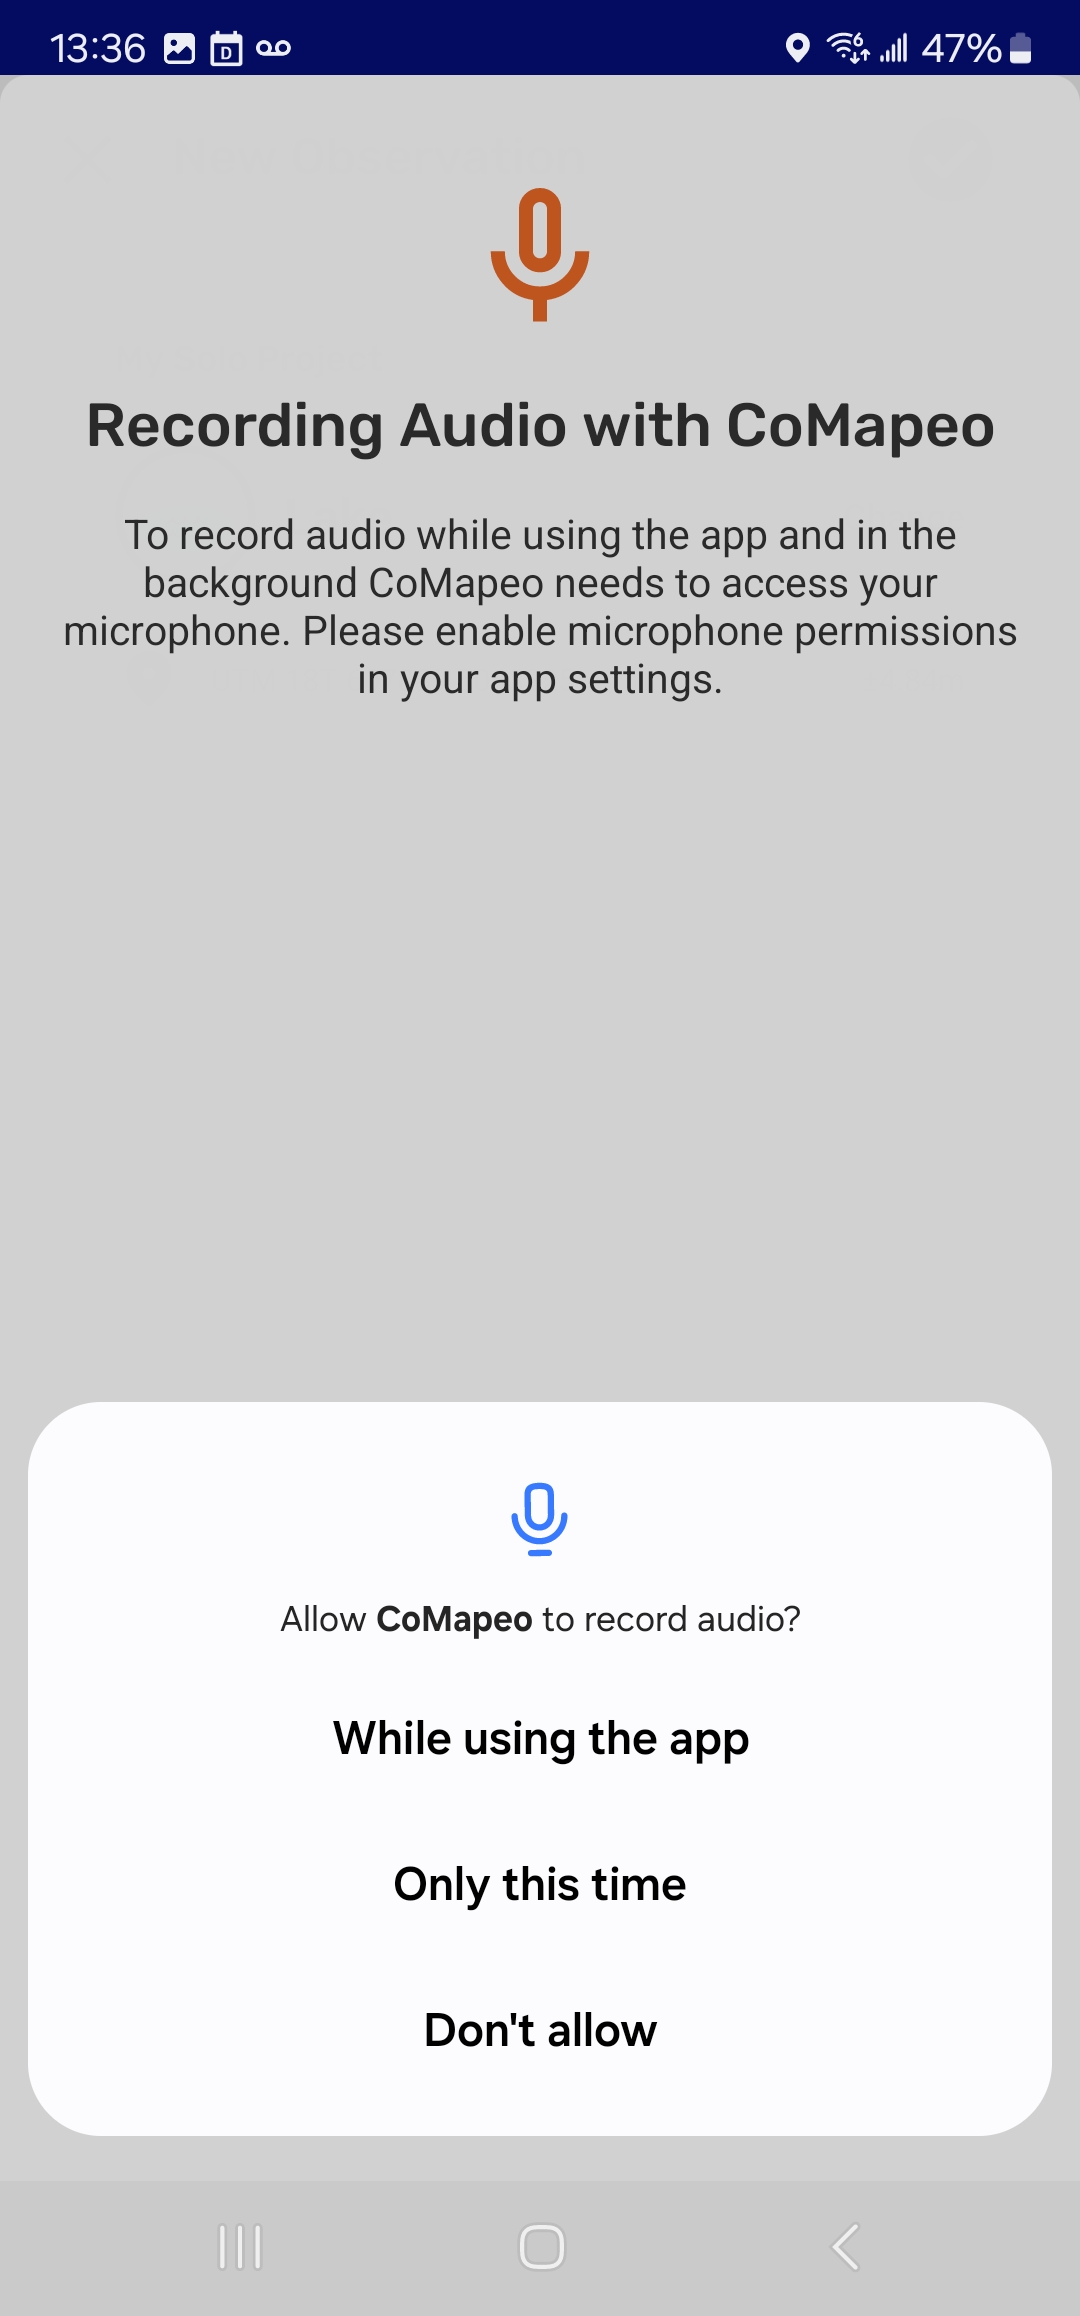
👀 If this is your first time recording audio with CoMapeo, you will need to grant permission to use this feature.

Step 2. Select ⏹️ stop when done

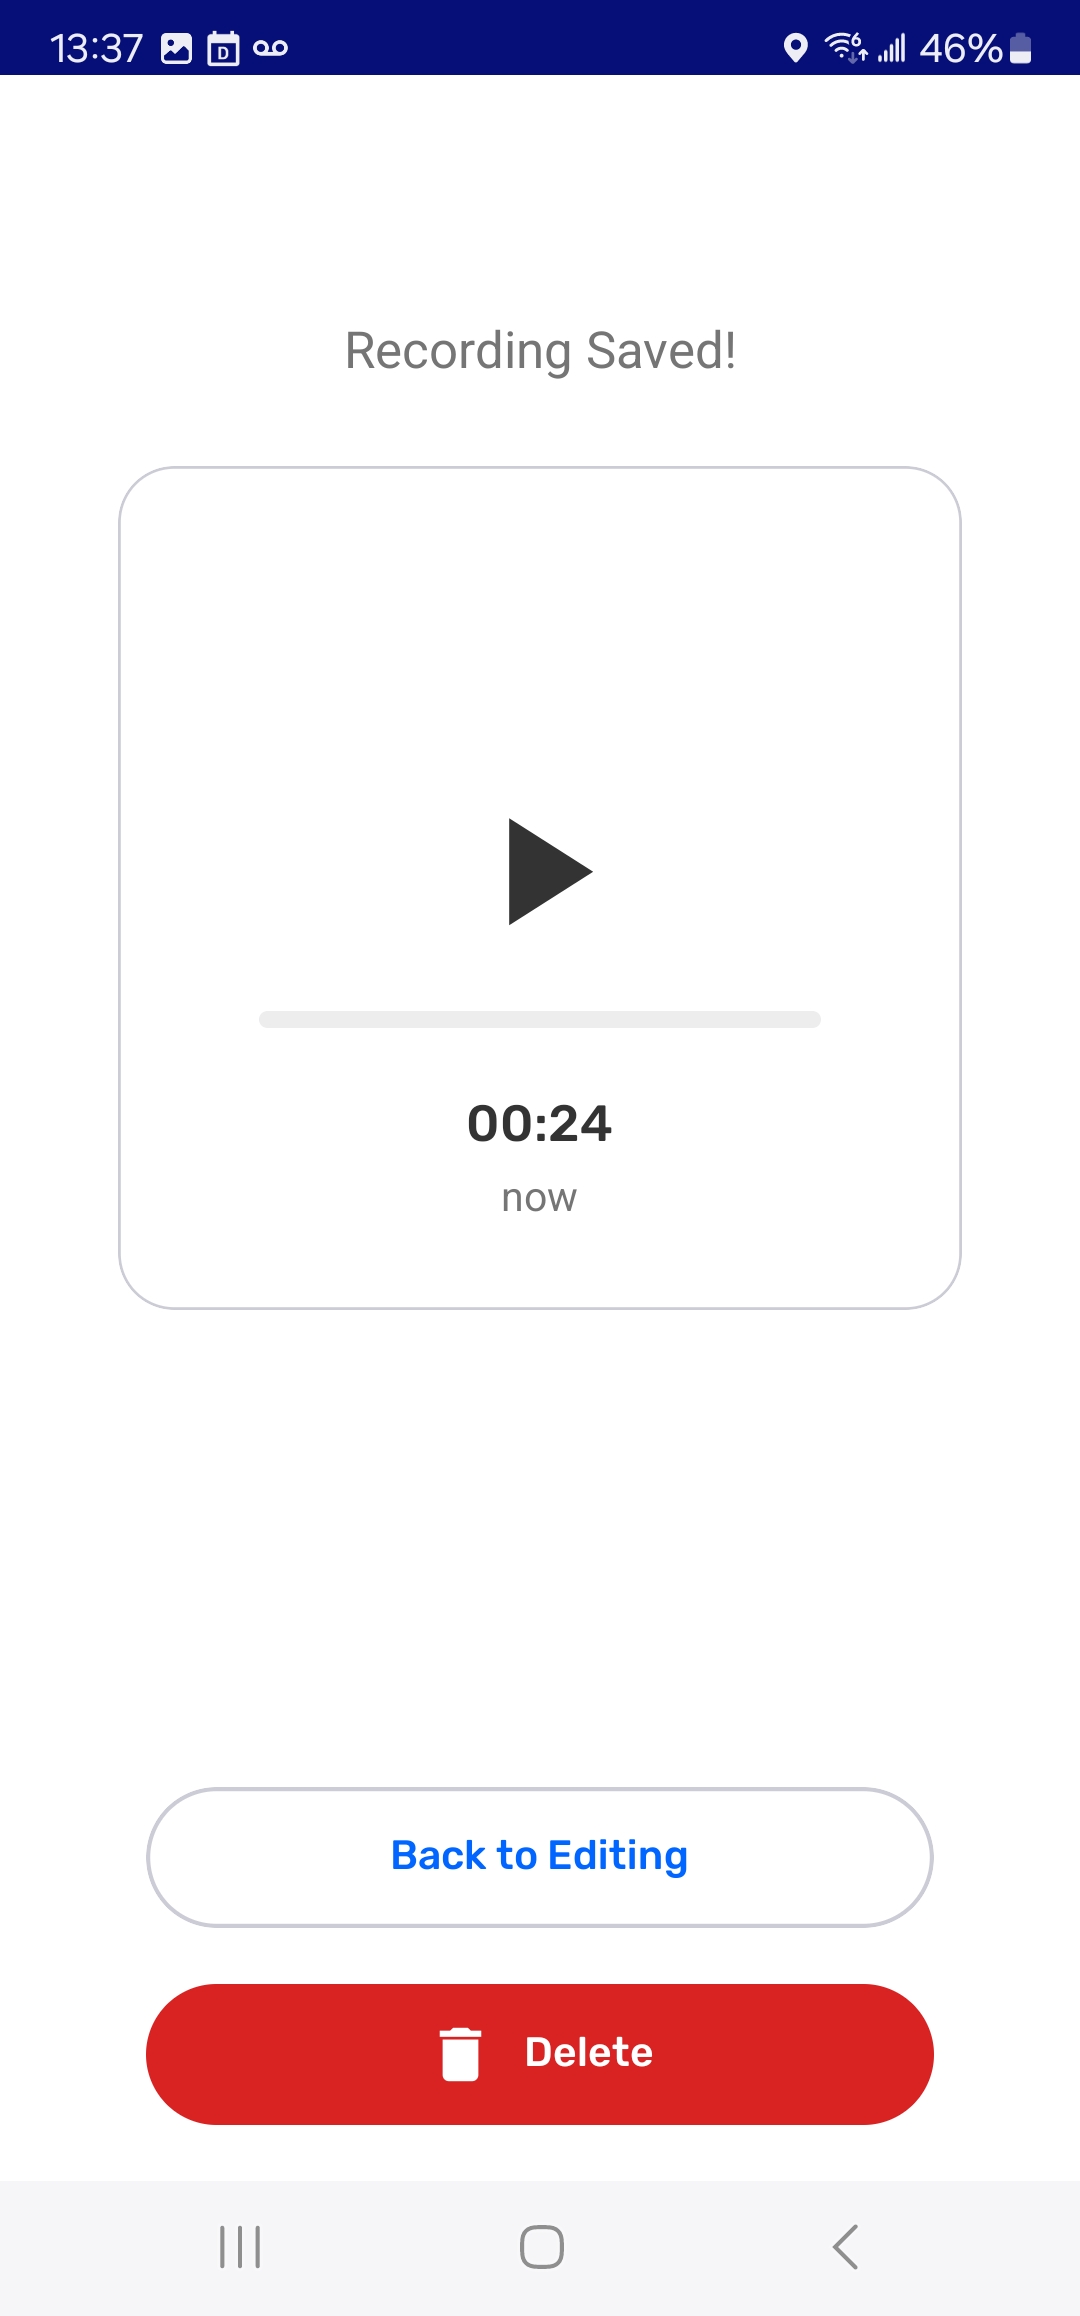
Step 3. Review recording. Choose to ▶️ listen to the recorded audio, :icon-add-audio-low:add another audio, or ➡️ continue to edit the observation

Example 2
👣 Walkthrough
Step 1
Select :icon-add-audio-low:add Audio. Recording will begin immediately
If this is your first time recording audio with CoMapeo, you will need to grant permission to use this feature.


Step 2
Select ⏹️ stop when done

Example 3Step 3
Choose to ▶️ listen to the recorded audio, :icon-add-audio-low:add another audio, or ➡️ continue to edit the observation
Example 4👣 Step 1: Start recording audio
Select :icon-add-audio-low:add Audio. Recording will begin immediately
If this is your first time recording audio with CoMapeo, you will need to grant permission to use this feature.
Step 2: Stop recording
Select ⏹️ stop when done
Step 3: Choose next step
Choose to ▶️ listen to the recorded audio, :icon-add-audio-low:add another audio, or ➡️ continue to edit the observation


👣 Try it!
Step 1: Start recording audio
Select :icon-add-audio-low:add Audio. Recording will begin immediately

👀 If this is your first time recording audio with CoMapeo, you will need to grant permission to use this feature.


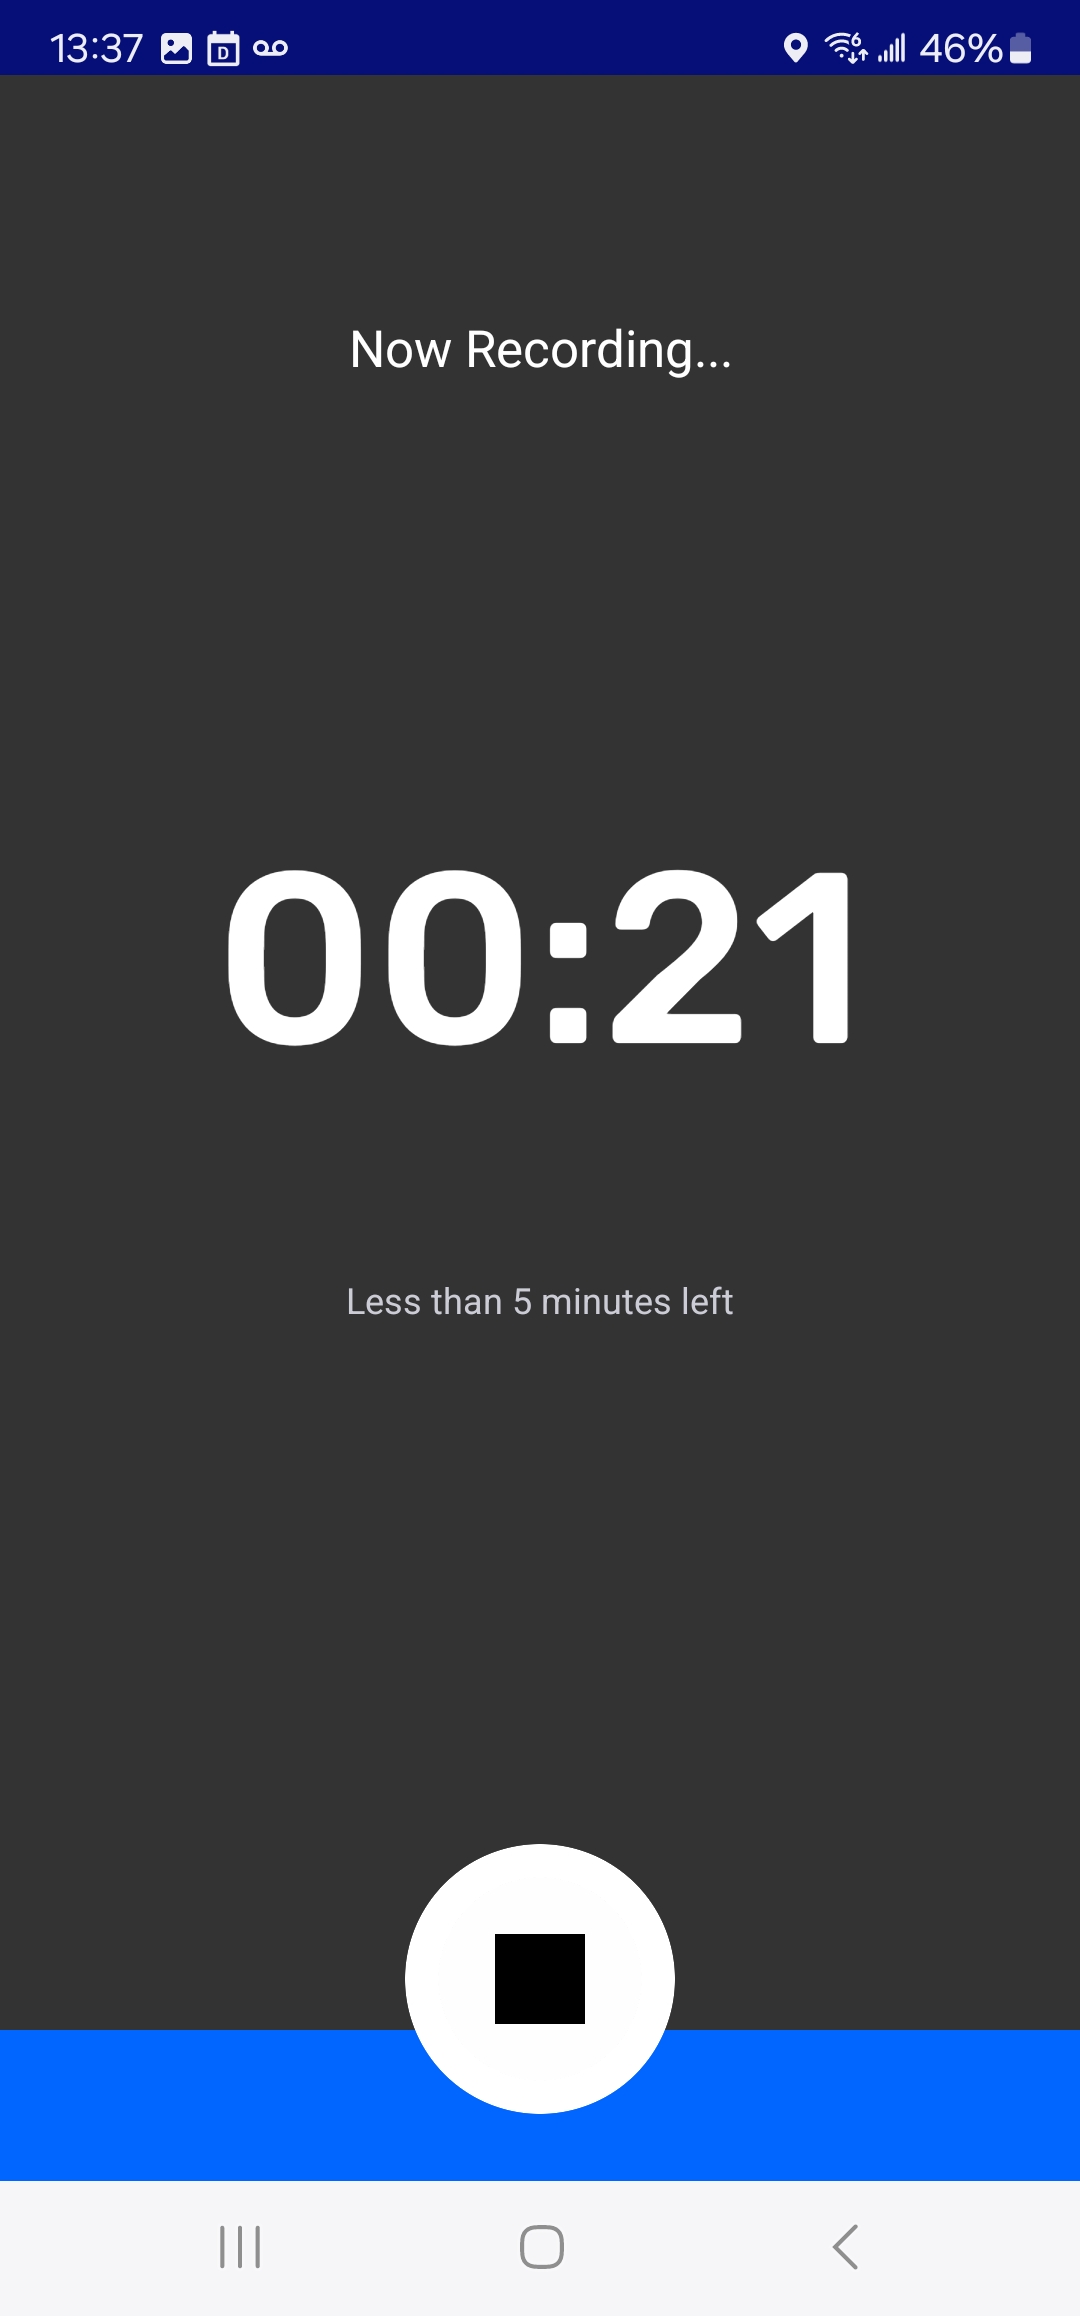
Step 2. Stop recording
Select ⏹️ stop when done

[image]
Step 3: Choose next step
Choose to ▶️ listen to the recorded audio, :icon-add-audio-low:add another audio, or ➡️ continue to edit the observation

Example 5
👣 Step by step
- Start recording audio
Select :icon-add-audio-low:add Audio. Recording will begin immediately
If this is your first time recording audio with CoMapeo, you will need to grant permission to use this feature.


- Stop recording
Select ⏹️ stop when done
- Choose next step
Choose to ▶️ listen to the recorded audio, :icon-add-audio-low:add another audio, or ➡️ continue to edit the observation
